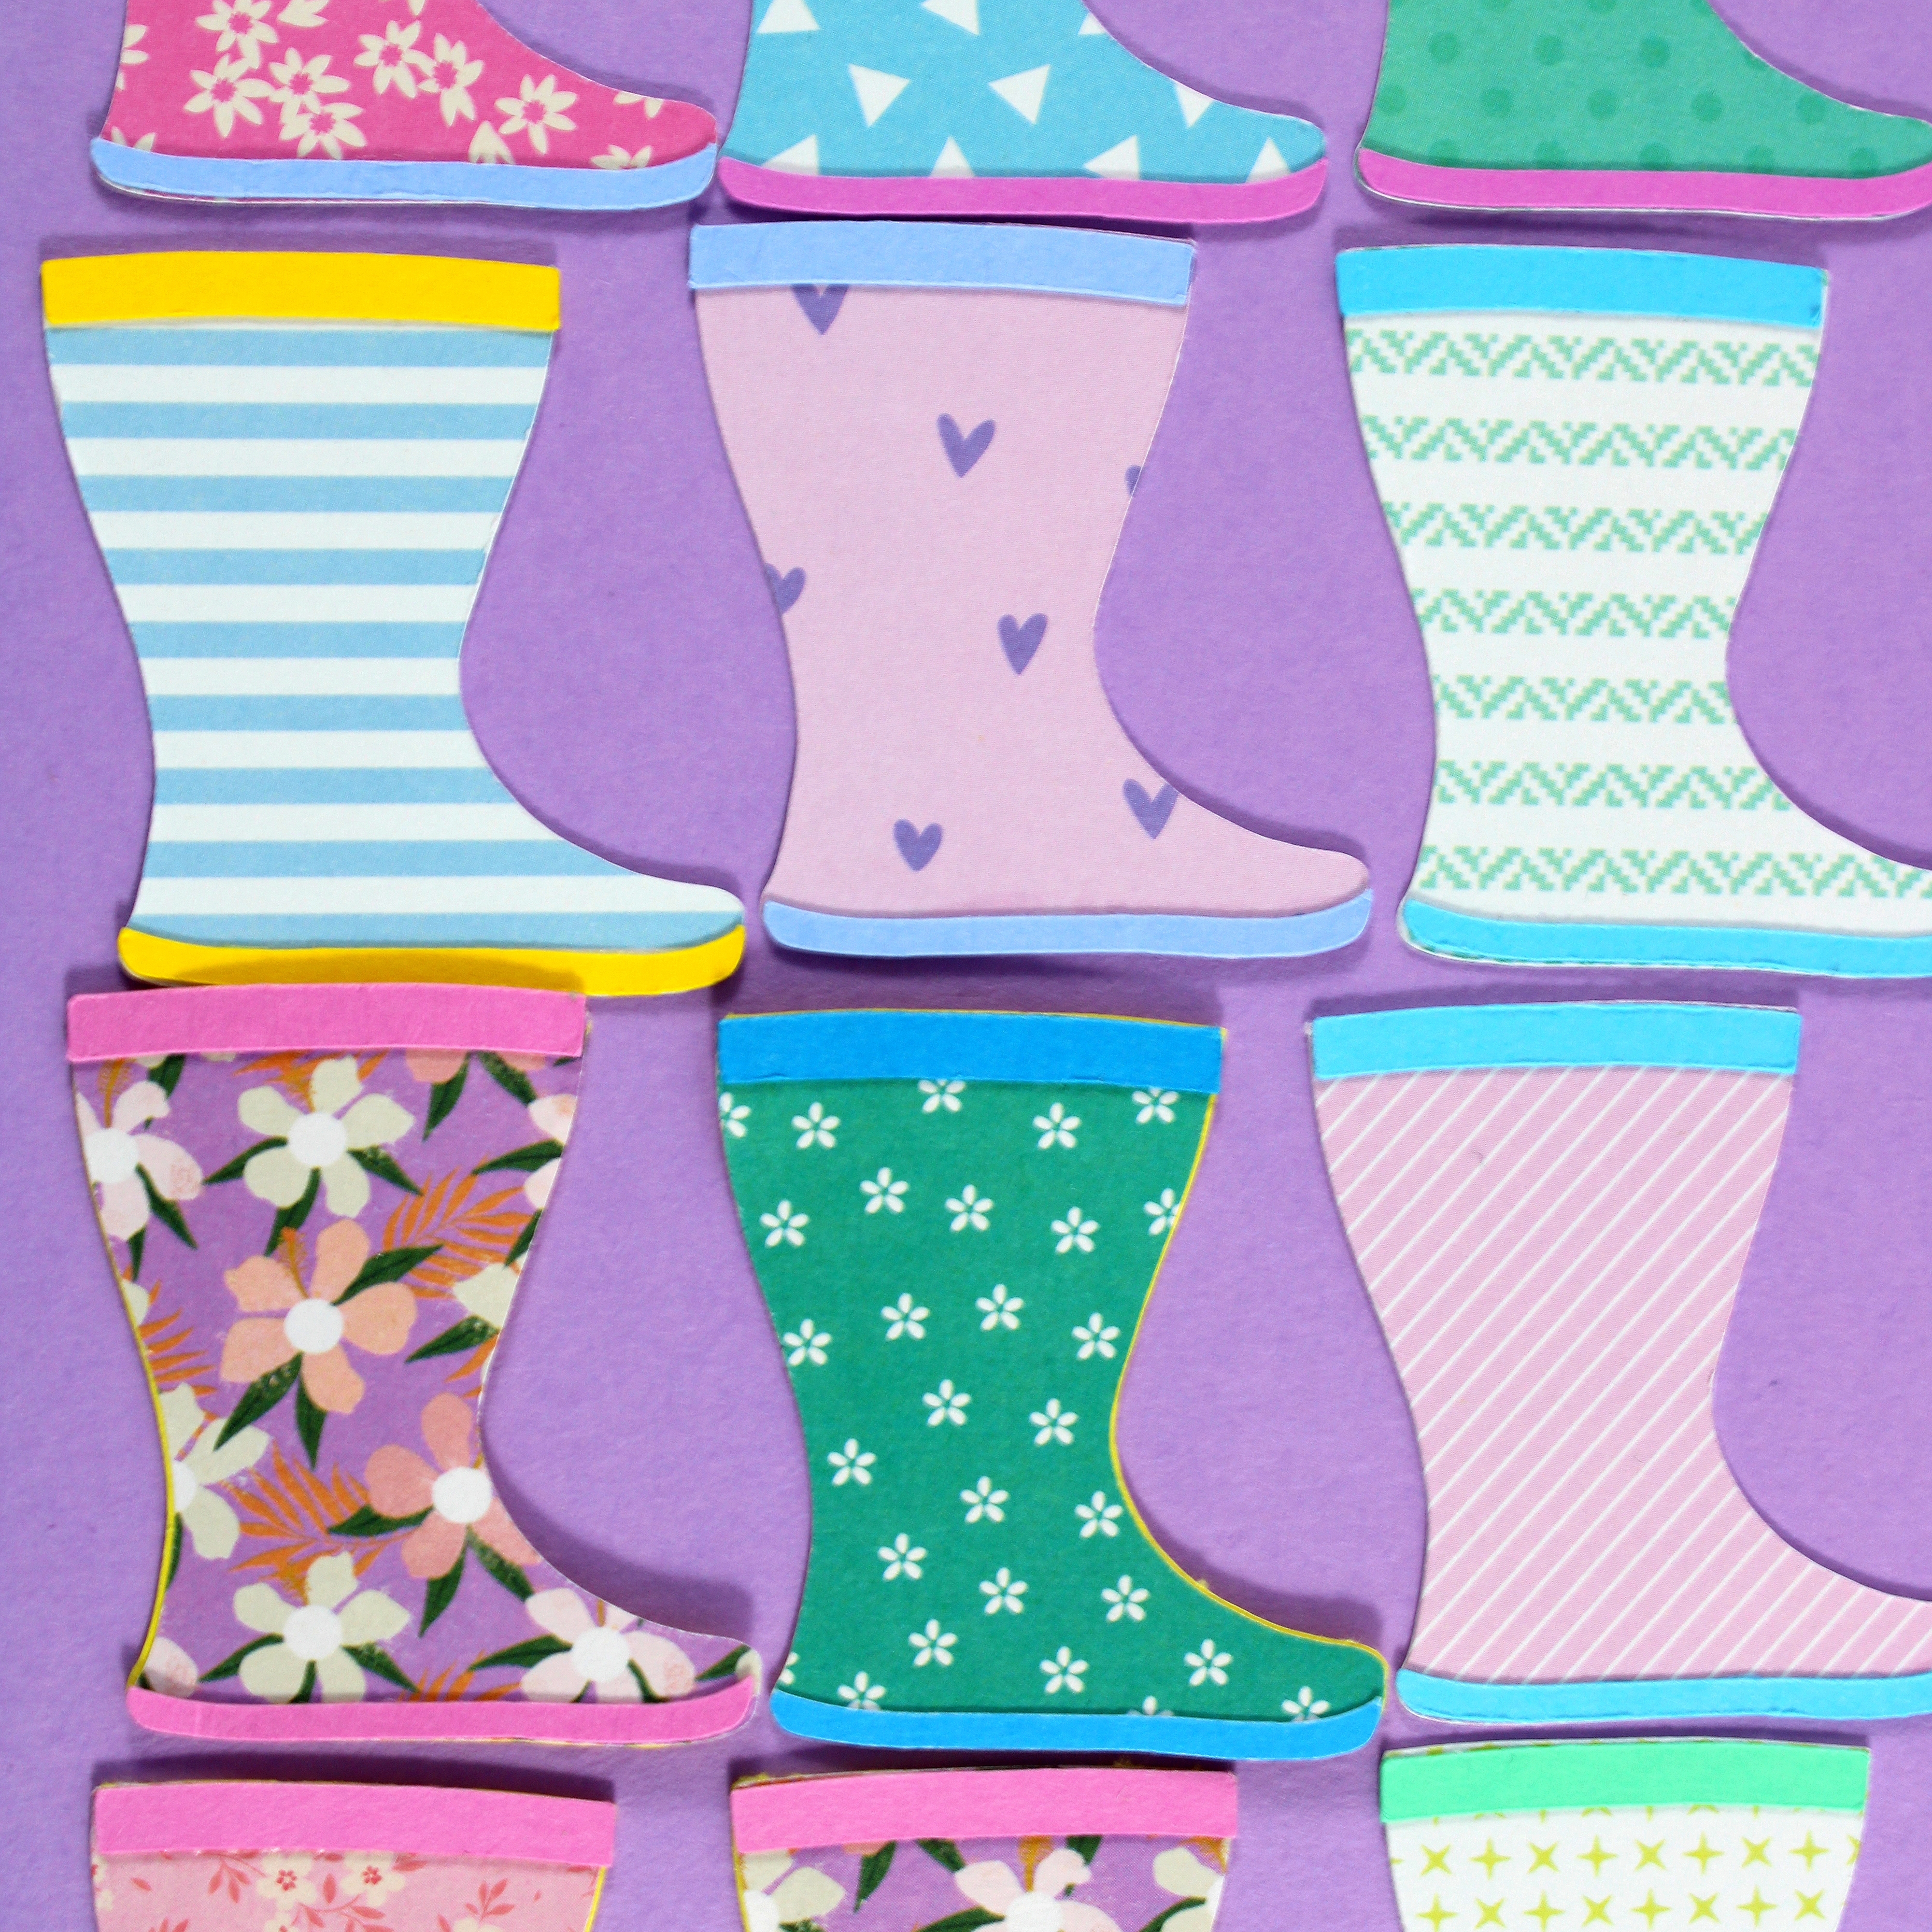
This simple early years game takes advantage of how adorable these tiny welly boots are and uses it to help kids practice pattern matching . Patterns appear throughout math and mastering this skill helps lay the foundation for more complicated numeracy skills, in a super fun and playful way.
*This post may contain affiliate links. If you click on these links to purchase a product, I may earn a small commission, without any additional cost to you!
Quick Links
You Will Need
- SVG Design #6
- 18 sheets of 5.9″ x 5.9″ (150mm x 150mm) patterned cardstock for welly boot pairs – NOTE – The welly boot pairs are small so scrap cardstock or paper can be used.
- 6 sheets of 5.9″ x 5.9″ (150mm x 150mm) contrasting colours of cardstock or paper for welly boot trimmings – NOTE – These pieces are small so scrap cardstock or paper can be used.
- 12″ x 12″ ( 305mm x 305mm) sheet of cardstock in any colour to reinforce welly boot pairs if thin cardstock or paper was used
- Green StandardGrip Cricut mat
- Cricut or other cutting machine
- Fine Point Blade
- Brayer
- Scraper Tool
- Weeding tool
- Tacky glue (I use this brand)
Get Your SVG File
Enter your email below for access to your free SVG files.
(By entering your email address you will be subscribed to the Designed 2 Play weekly newsletter, where I let you know about all of my latest projects, games and tips. You can unsubscribe from these emails at anytime)
How To Make Your Wellington Boot Math Pattern Match Activity
Upload SVG Design #6 to Cricut Design Space and add to a new canvas.
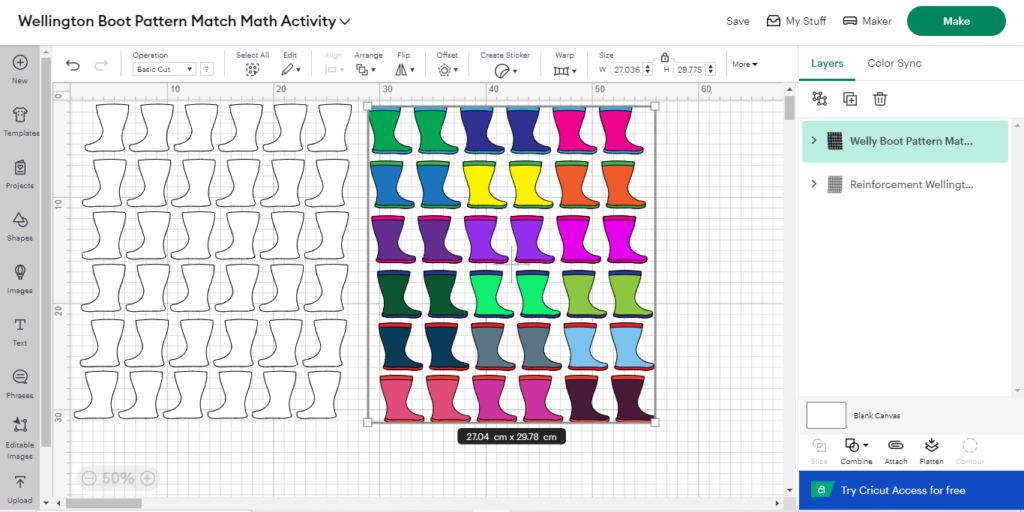
The plain white group of boot pieces are only necessary if using thin cardstock or paper for your patterned boot pieces. If you are using thick cardstock for your patterned pieces, select the entire image and ‘Ungroup’. Select the group of plain wellington boots from the Layers Panel and delete, leaving just the coloured group of wellington boots on your canvas.
Click on the ‘Make’ button, ‘On Mat’ and ‘Confirm’.
On the ‘Prepare’ page, change the material size for each mat as necessary and select ‘Continue.’
I used ‘Heavy Cardstock’ as my base material and ‘More’ pressure. Cut each pair of patterned boots, using a different colour or pattern of your choice for each. As the plain boots are only for reinforcement, they can all be cut from the same colour.
There should be six contrasting colours for the trimmings of the boots, and you should choose colours that complement the colours of the patterns you have chosen for the main boots.
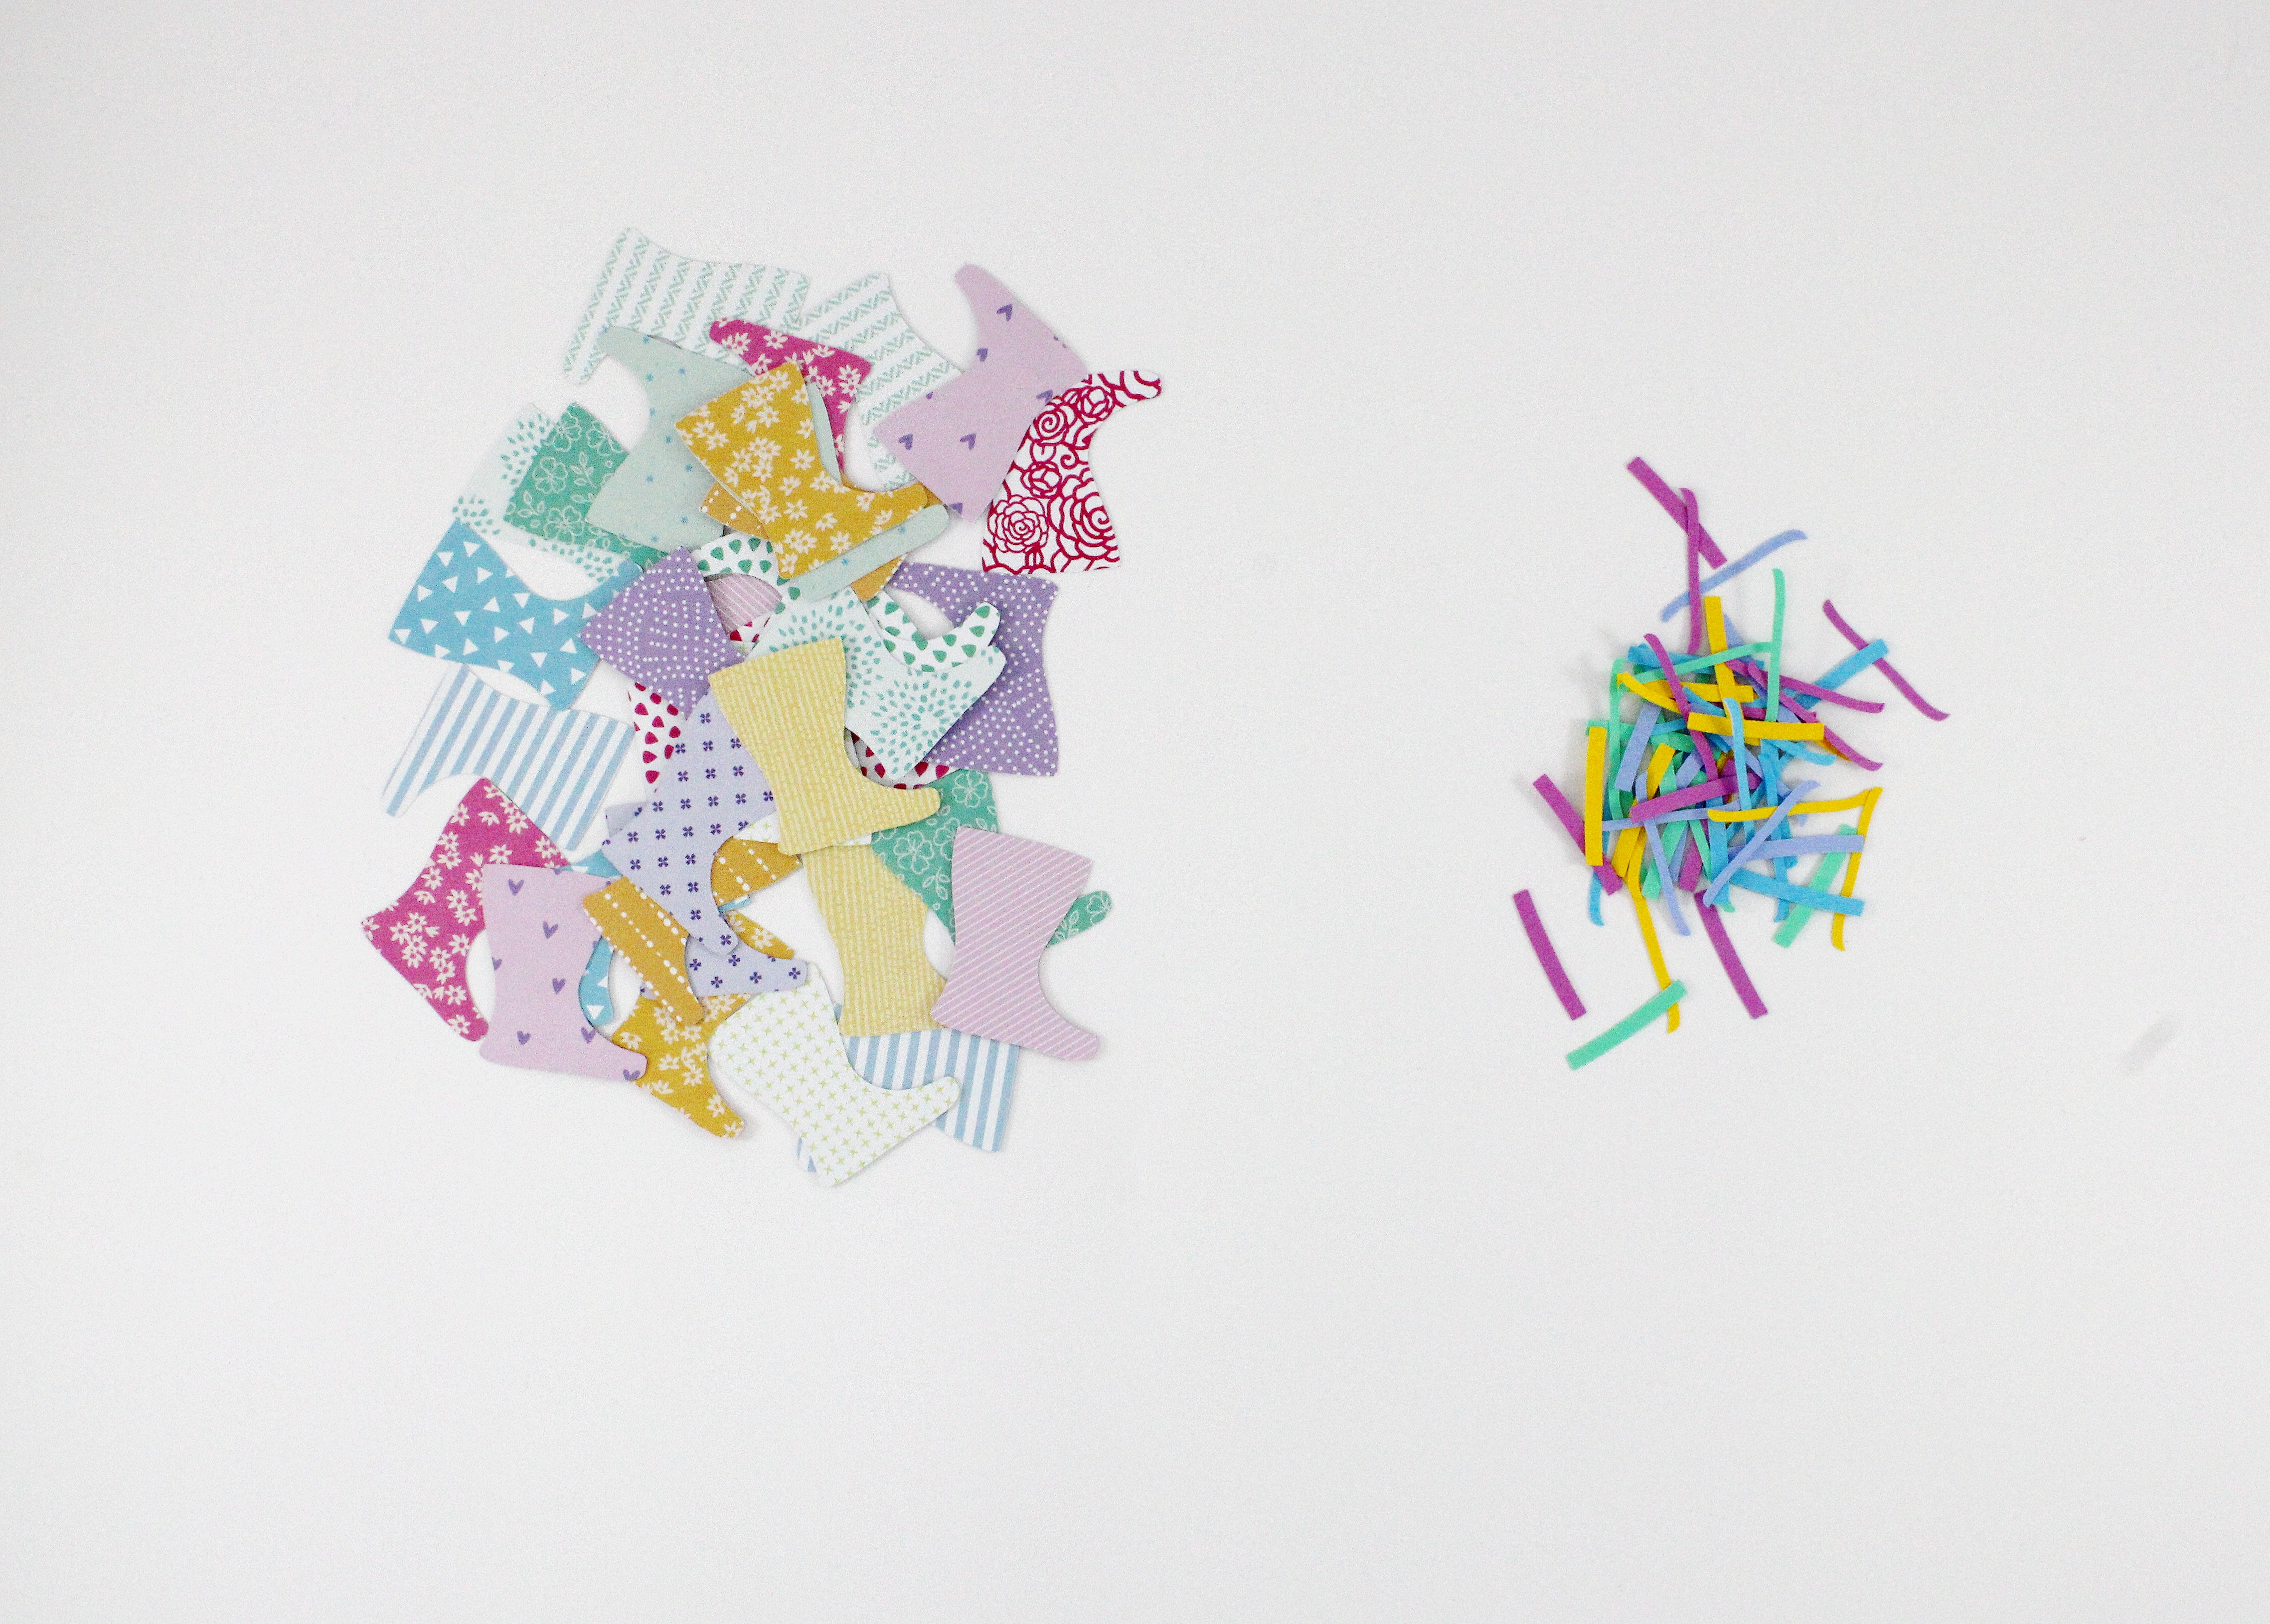
Apply a thin layer of glue to the backs of the top and bottom trimmings of each boot and attach to the boot. Allow to dry.
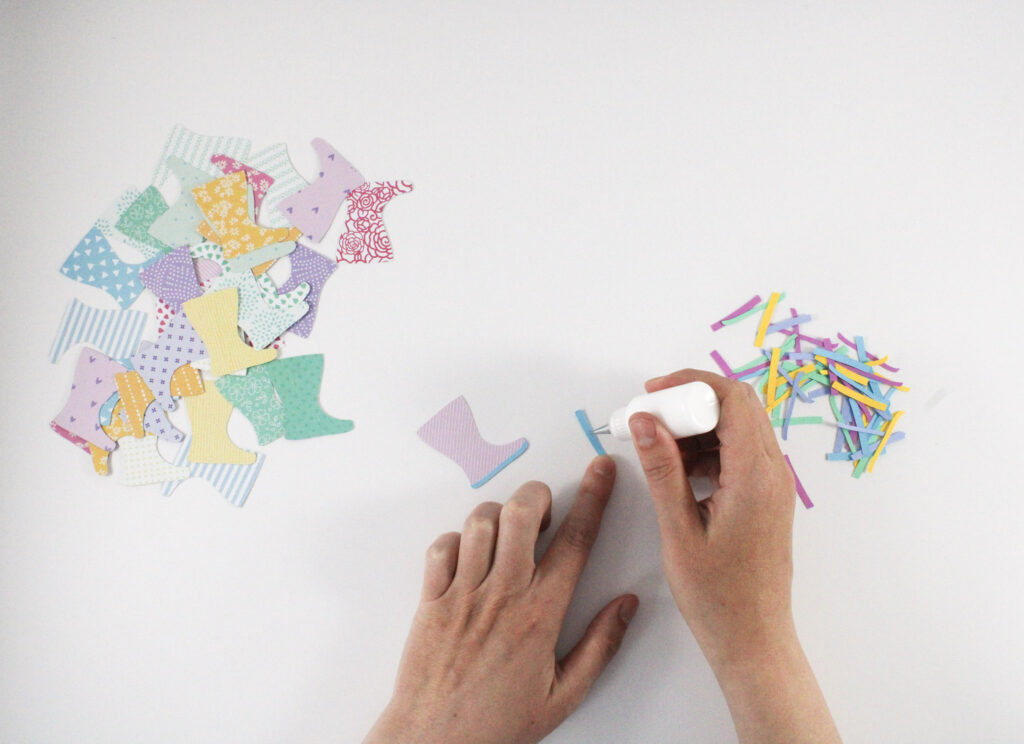
If using backing pieces to make your boots sturdier, apply a thin layer of glue to the backs of your main boot pieces and attach a backing piece, lining up the edges. Allow to dry.
Your pattern match activity is now ready to use!
How To Use Your Wellington Boot Math Pattern Match Activity
Mix your wellington boots and lay them out face up on a flat surface.
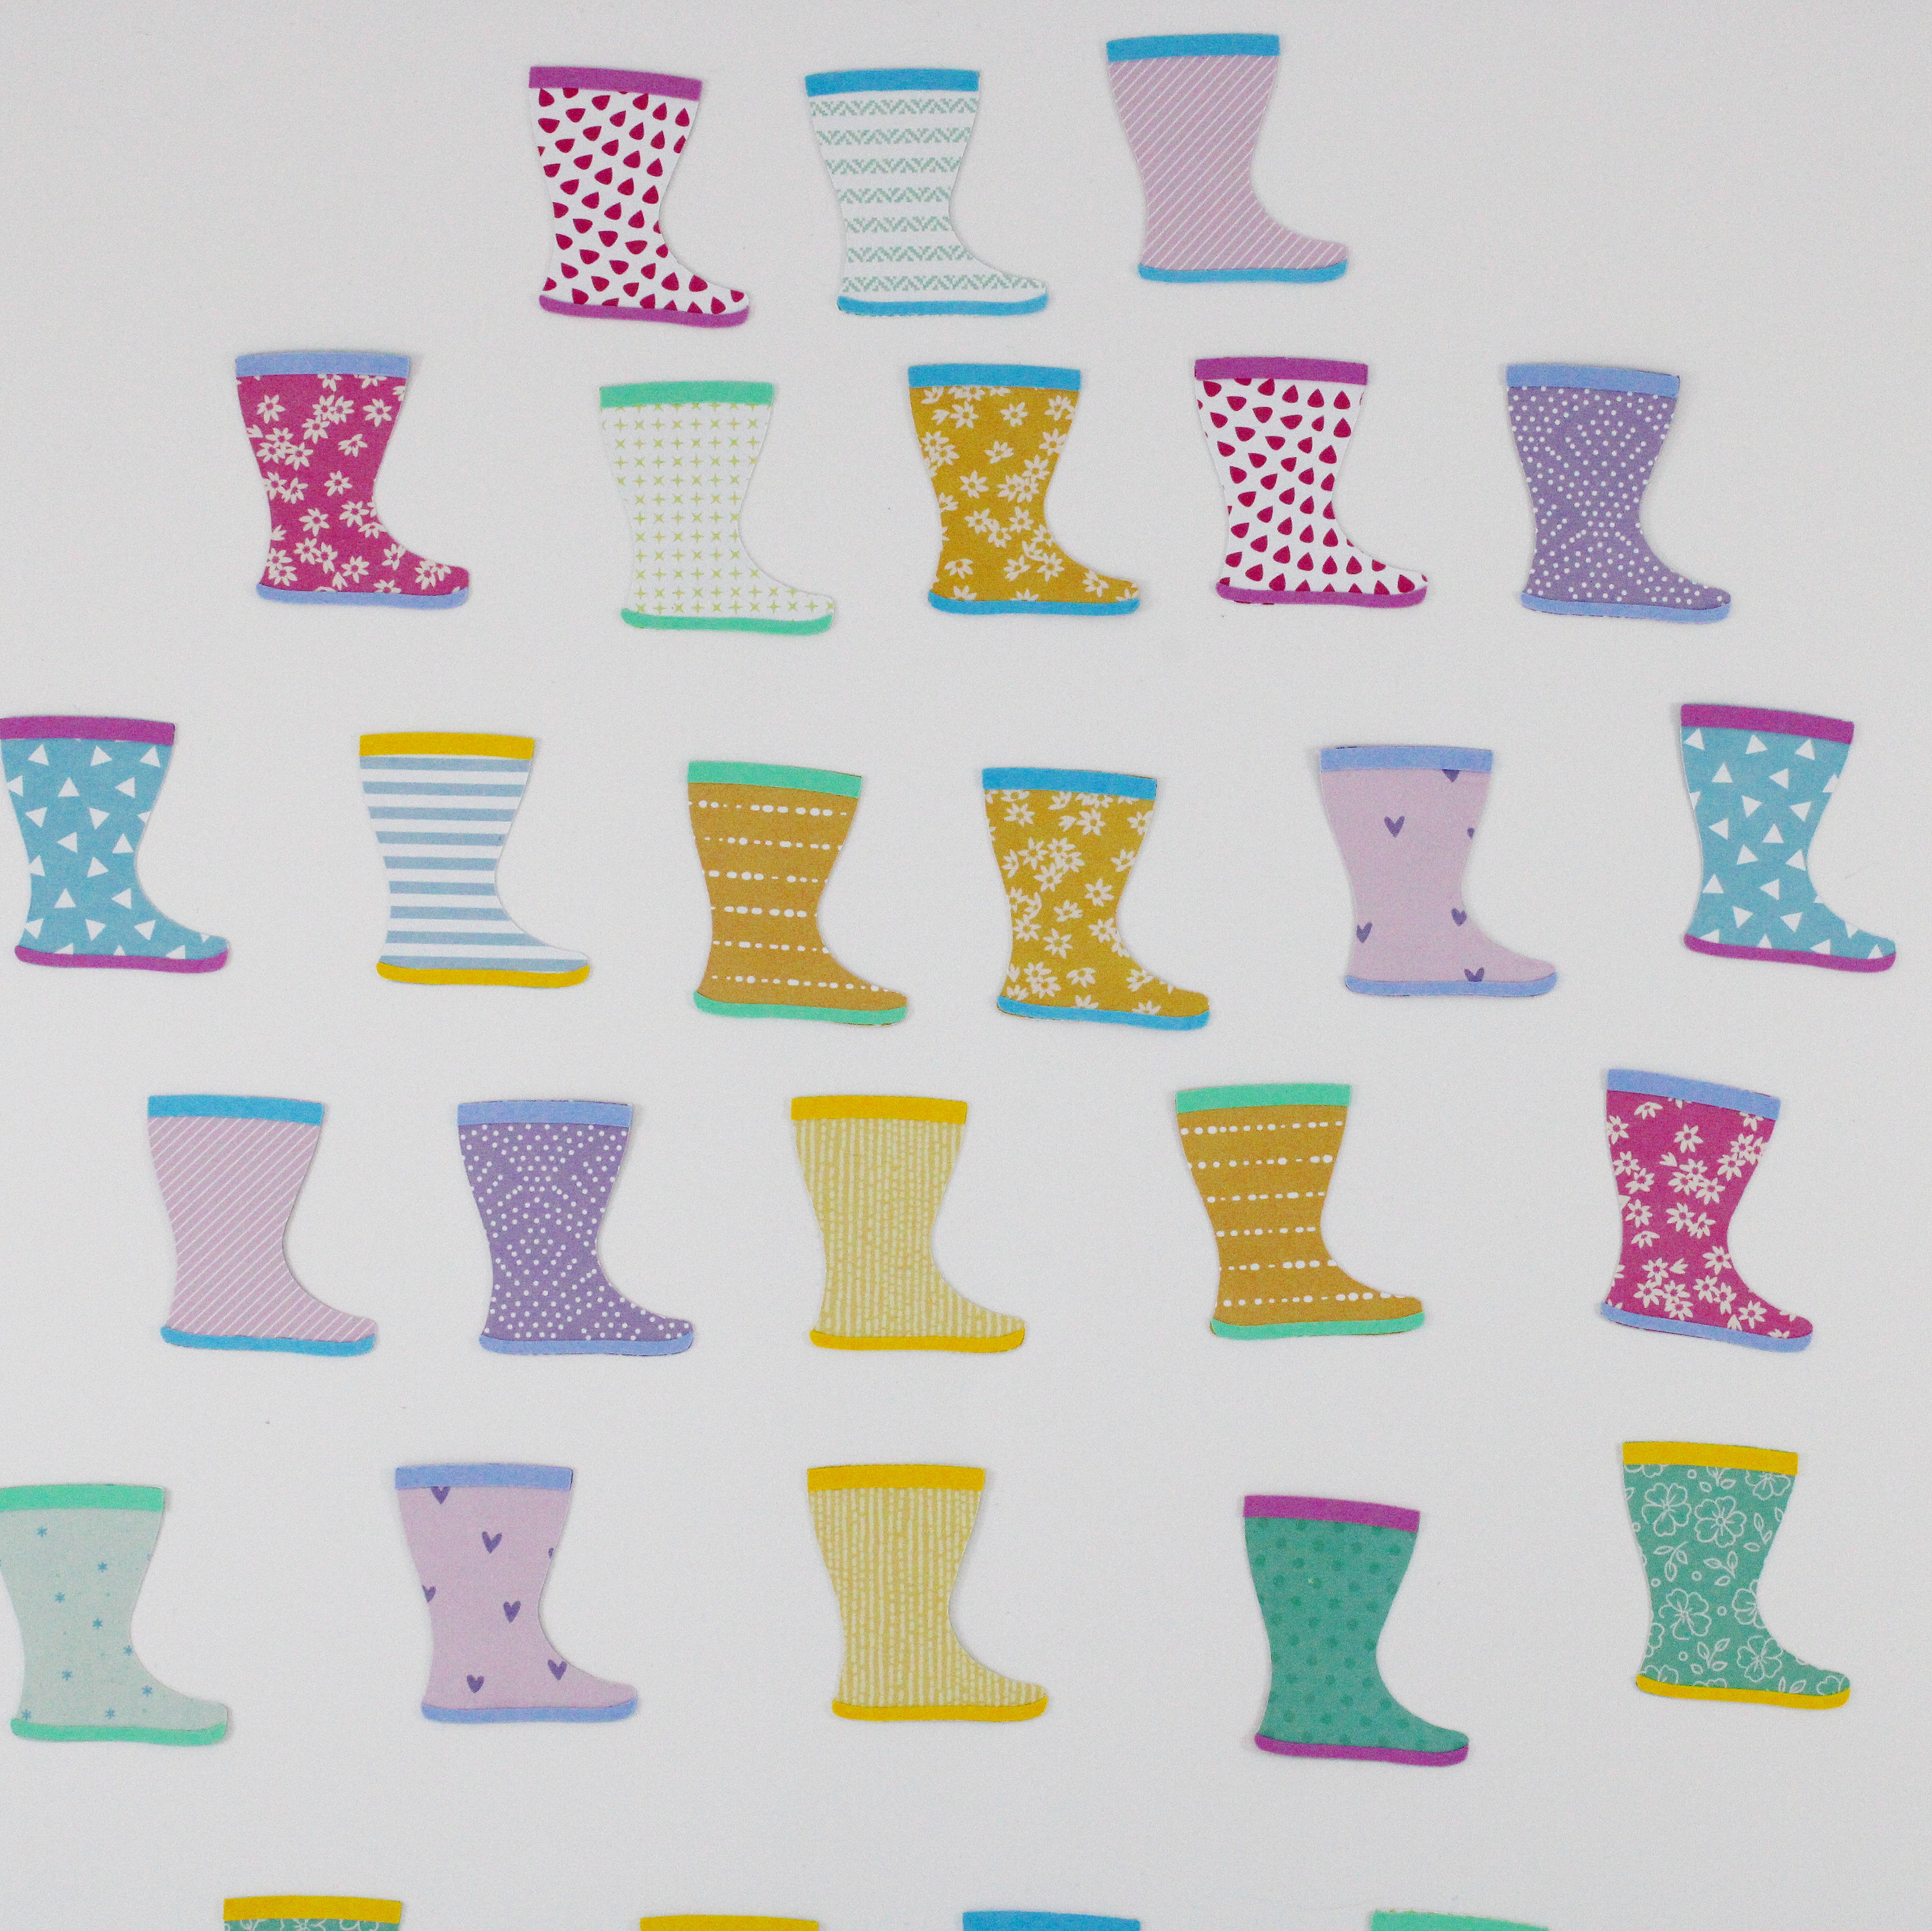
Ask your child to match each boot with its partner.
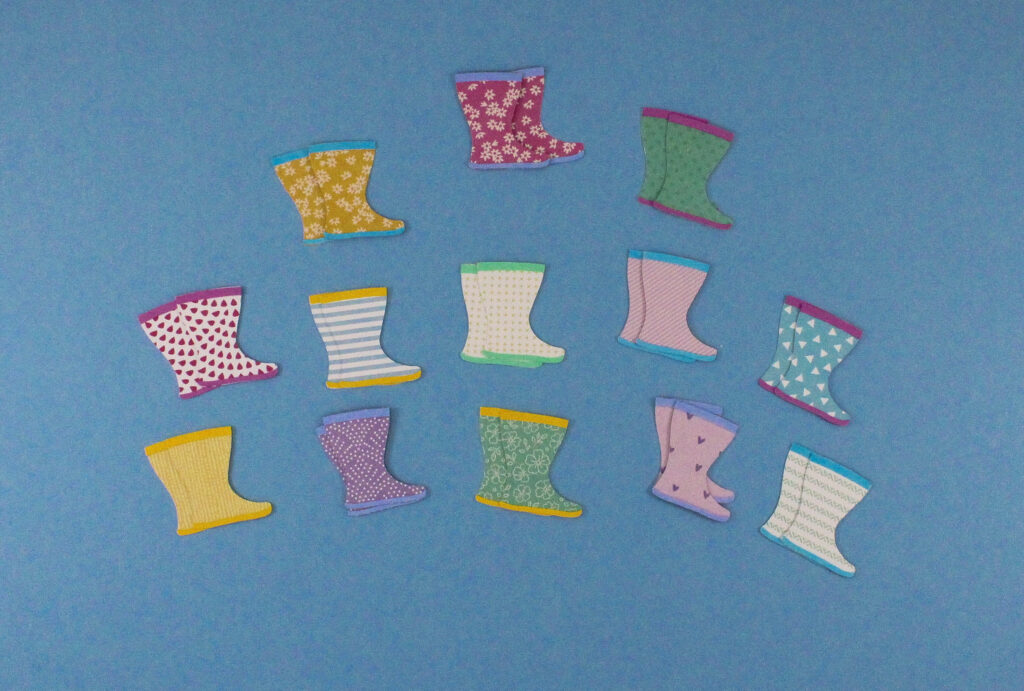
Shuffle and repeat!
To find more games, projects and activities, search the website using the search bar or look for specific categories, skills or themes in the menu. There are lots of free projects to choose from with some files available to buy via the Designed 2 Play Etsy shop, so go have a peek and see if there is anything you fancy creating. Happy browsing!

