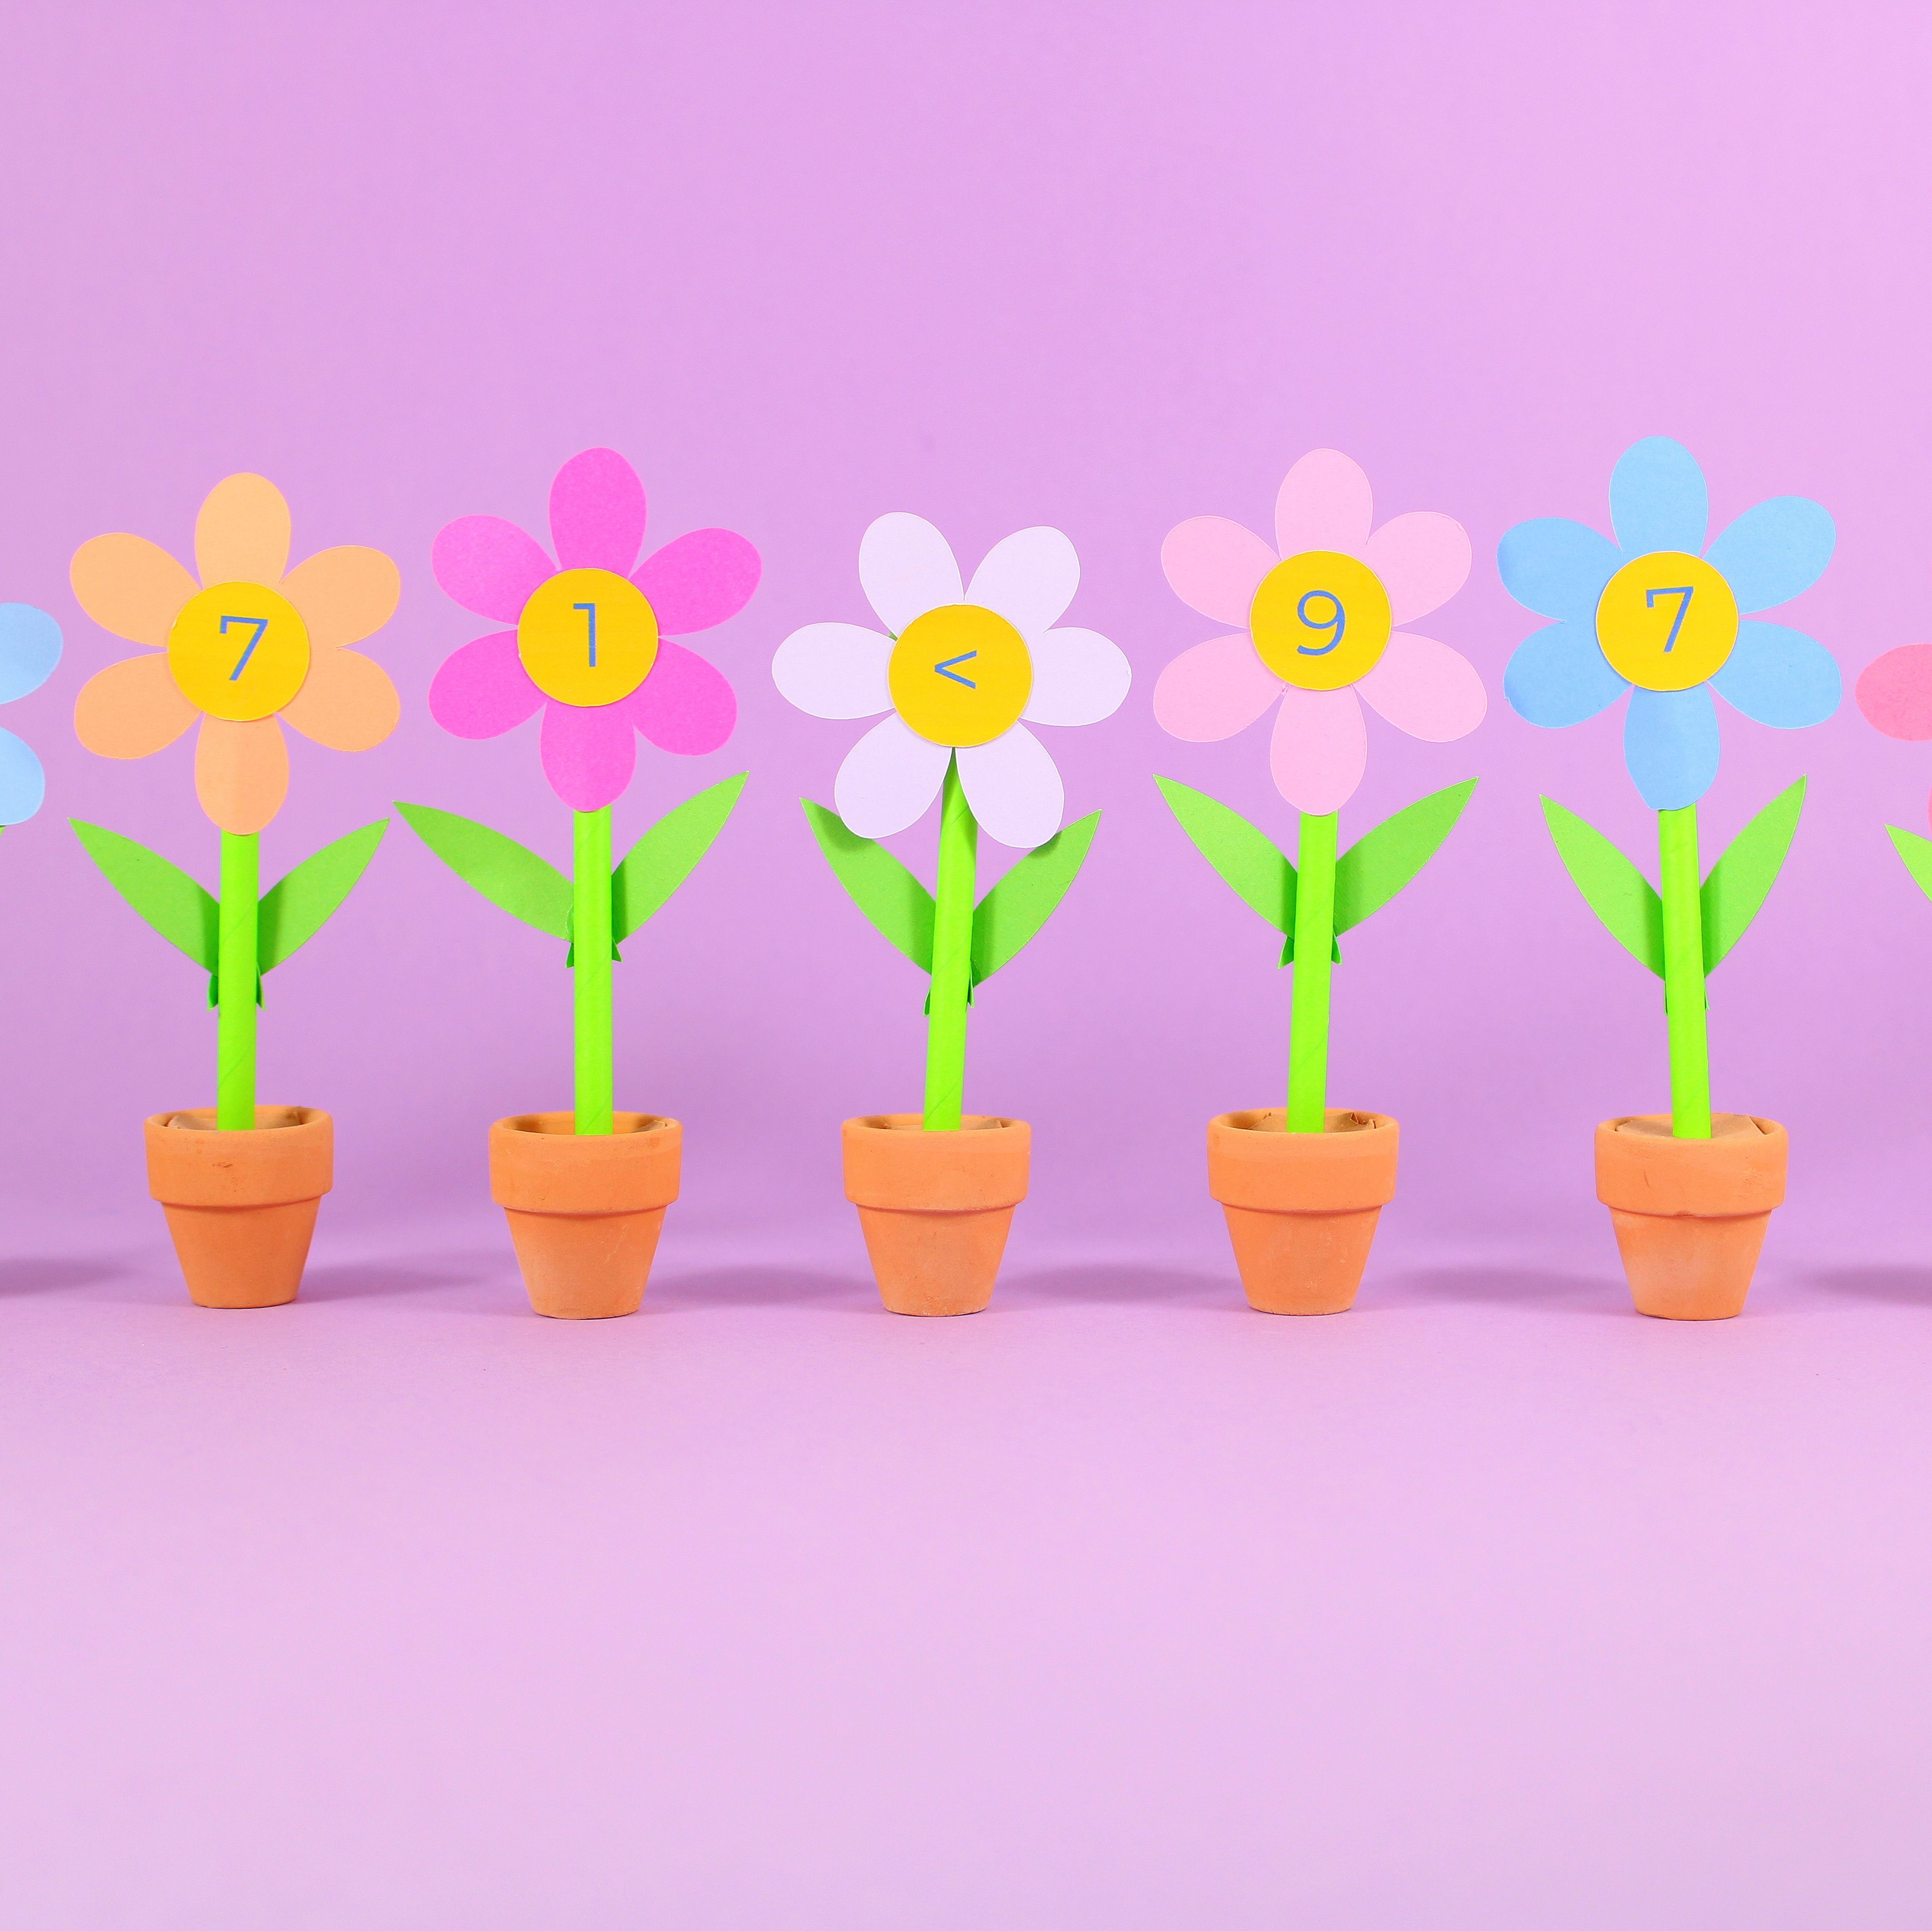
I don’t know if it’s just me but anything miniature just makes me go “awww, so cute!” Even when it’s plant pots! In this fun math activity, use these tiny plant pot number flowers to practice determining whether a number is higher, lower or the same as another.
Cut the pieces on your Cricut using the free SVG Files, or use the free printable PDF to cut by hand.
*This post may contain affiliate links. If you click on these links to purchase a product, I may earn a small commission, without any additional cost to you!
Quick Links
You Will Need
- 1 sheet A4 white cardstock for your Print Then Cut flower centres
- 1 sheet A4 green cardstock for your flower leaves
- 1 sheet A4 brown cardstock for your plant pot tops
- 13 sheets of coloured cardstock for your flowers (scrap cardstock can be used here as the flowers are small)
- Printer and Ink
- Green StandardGrip Cricut mat
- Cricut or other cutting machine
- Fine Point Blade
- Scoring stylus or Single Scoring Wheel
- Brayer
- Weeding Tool
- Scraper Tool
- Tacky glue (I use this brand)
- 13 green paper straws
- 23 mini plantpots
Get Your SVG File
Enter your email below for access to your free SVG files.
(By entering your email address you will become subscribed to the Designed 2 Play weekly newsletter, where I let you know about all of my latest projects, games and tips. You can unsubscribe from these emails at any time.)
How to Make Your Higher Or Lower Flower Math Game
Upload SVG Design #47 to Cricut Design Space and add to canvas. Select the image and ‘Ungroup’.
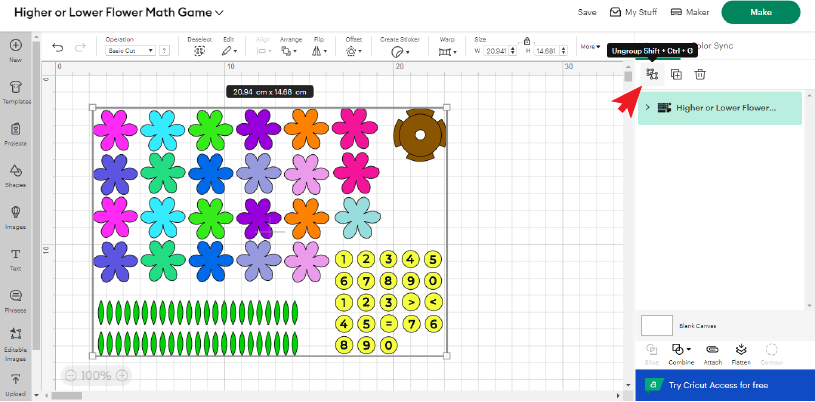
Select the brown pot top in the Layers panel and expand using the arrow. Select the green score lines and change to ‘Score’ in the Operations panel.
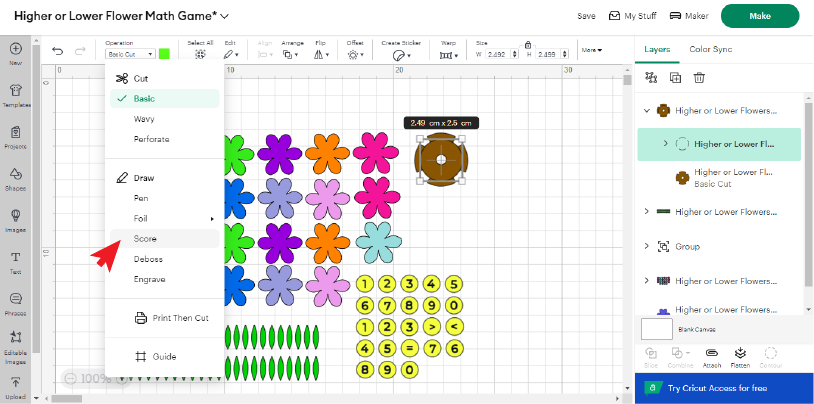
Select both sections of the pot top and click ‘Attach’. This section will appear at the top of the Layers panel as a paperclip.
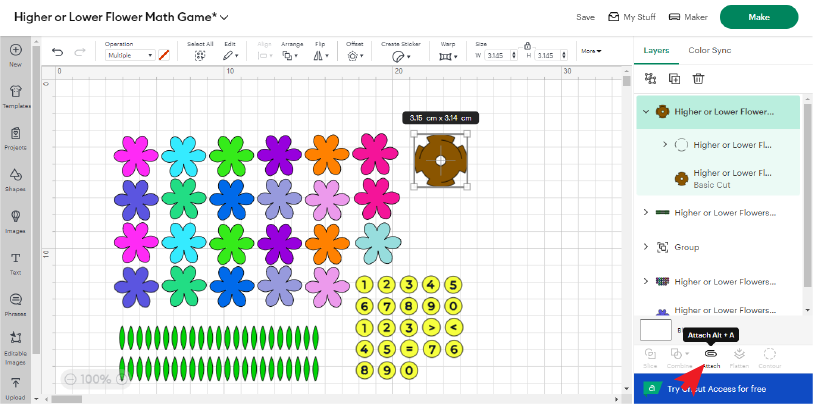
Duplicate this piece by selecting and clicking the duplicate button in the layer panel 22 times. You should have 23 pot tops in total.
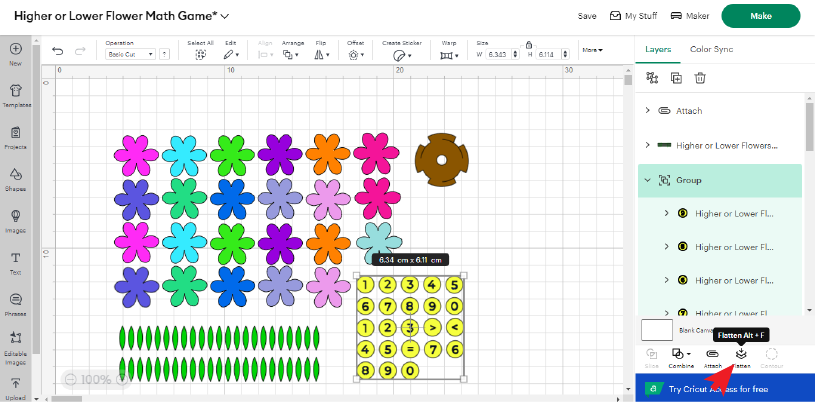
Select the yellow number circle group from the Layers panel and select ‘Flatten’. This group will jump to the Layers panel as a Print Then Cut piece.
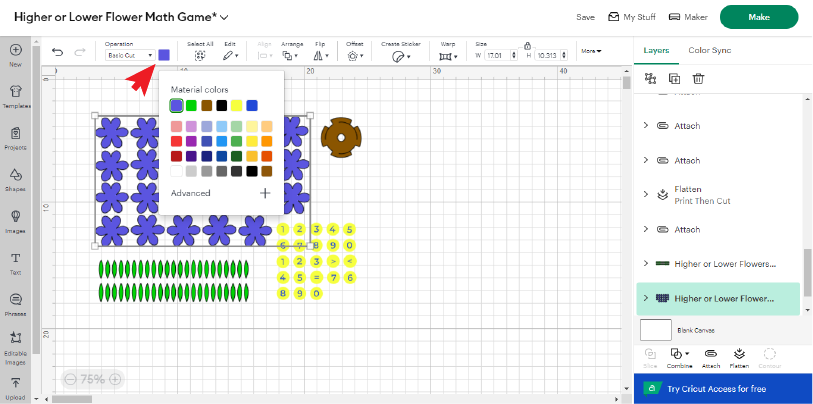
If you would like to change the colours of your flowers, you can change them by selecting the flowers you would like to change and selecting the Colour box in the Operations panel.
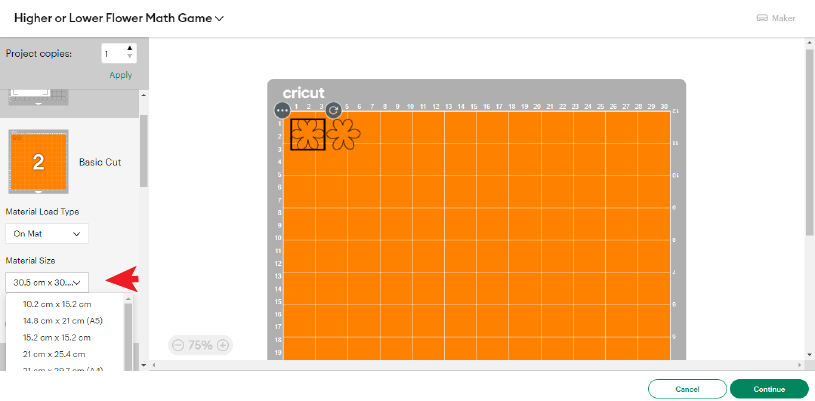
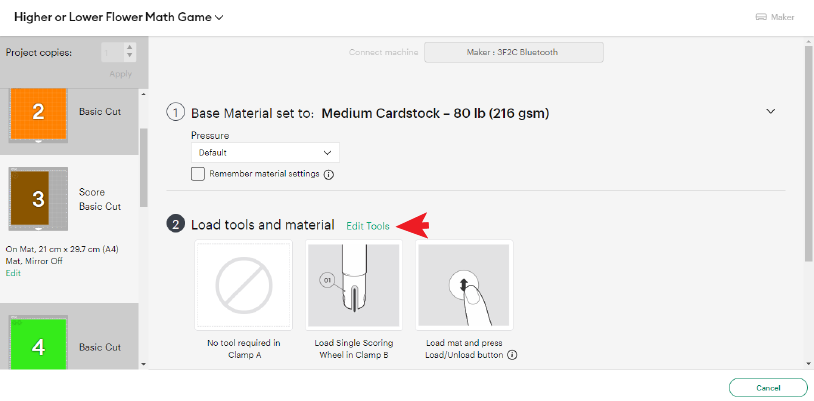
Select ‘Make’, ‘On Mat’ and ‘Confirm’. On the ‘Prepare’ page, you can change the size of material for your mats if necessary. Select ‘Continue.’
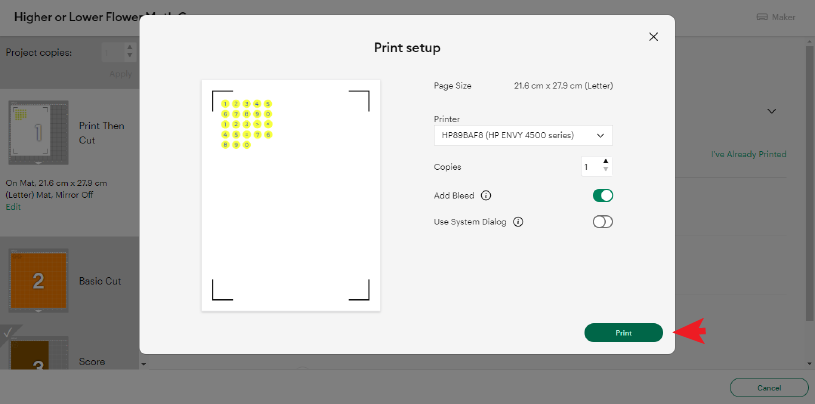
For the Print Then Cut section, ‘Send to Printer’ and leave ‘Bleed’ on.
I used ‘Medium Cardstock’ with ‘Default’ pressure for the Print Then Cut mat. For the remainder of the pieces, I used ‘Medium Cardstock’ with ‘More’ pressure.
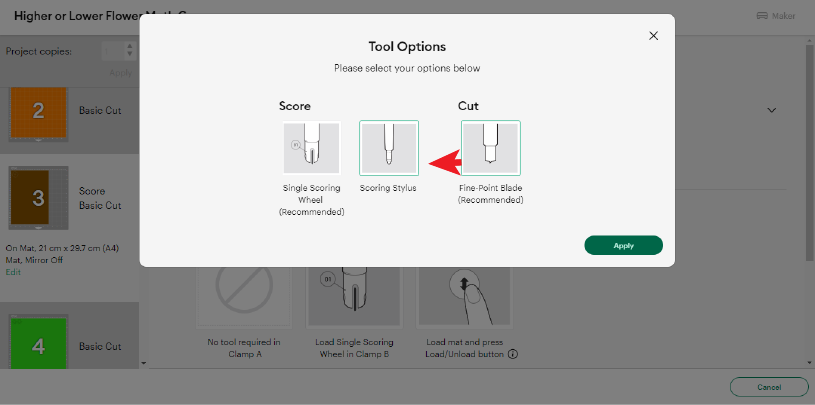
For the pot tops I selected a scoring stylus by selecting ‘Edit tools’, ‘Scoring Stylus’ and ‘Apply’.
Attach your materials to your mat using a brayer tool and load into the machine using the flashing arrow button. Press the flashing go button.
After the first cut, before unloading your mat, gently peel back a section of your cardstock to ensure that it has cut all of the way through cleanly. If not, press the go button again for a second pass. Repeat until you are happy with your cut, then unload your mat using the flashing arrow button.
Flip the mat over and peel your mat away from the cardstock. Use your scraper tool to remove excess pieces from the mat.

Assemble your flower pots by folding along the score lines on the pot top pieces.
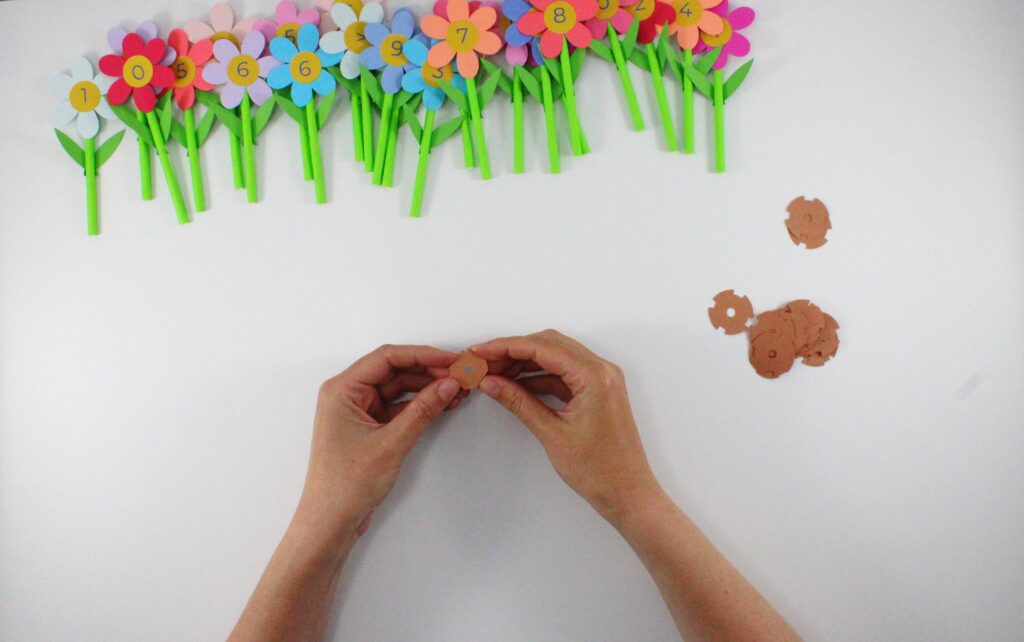
Cut your paper straws in half. Glue a number or symbol circle into the centre of one of your flower pieces. Glue the flower head to the top of the green straw.
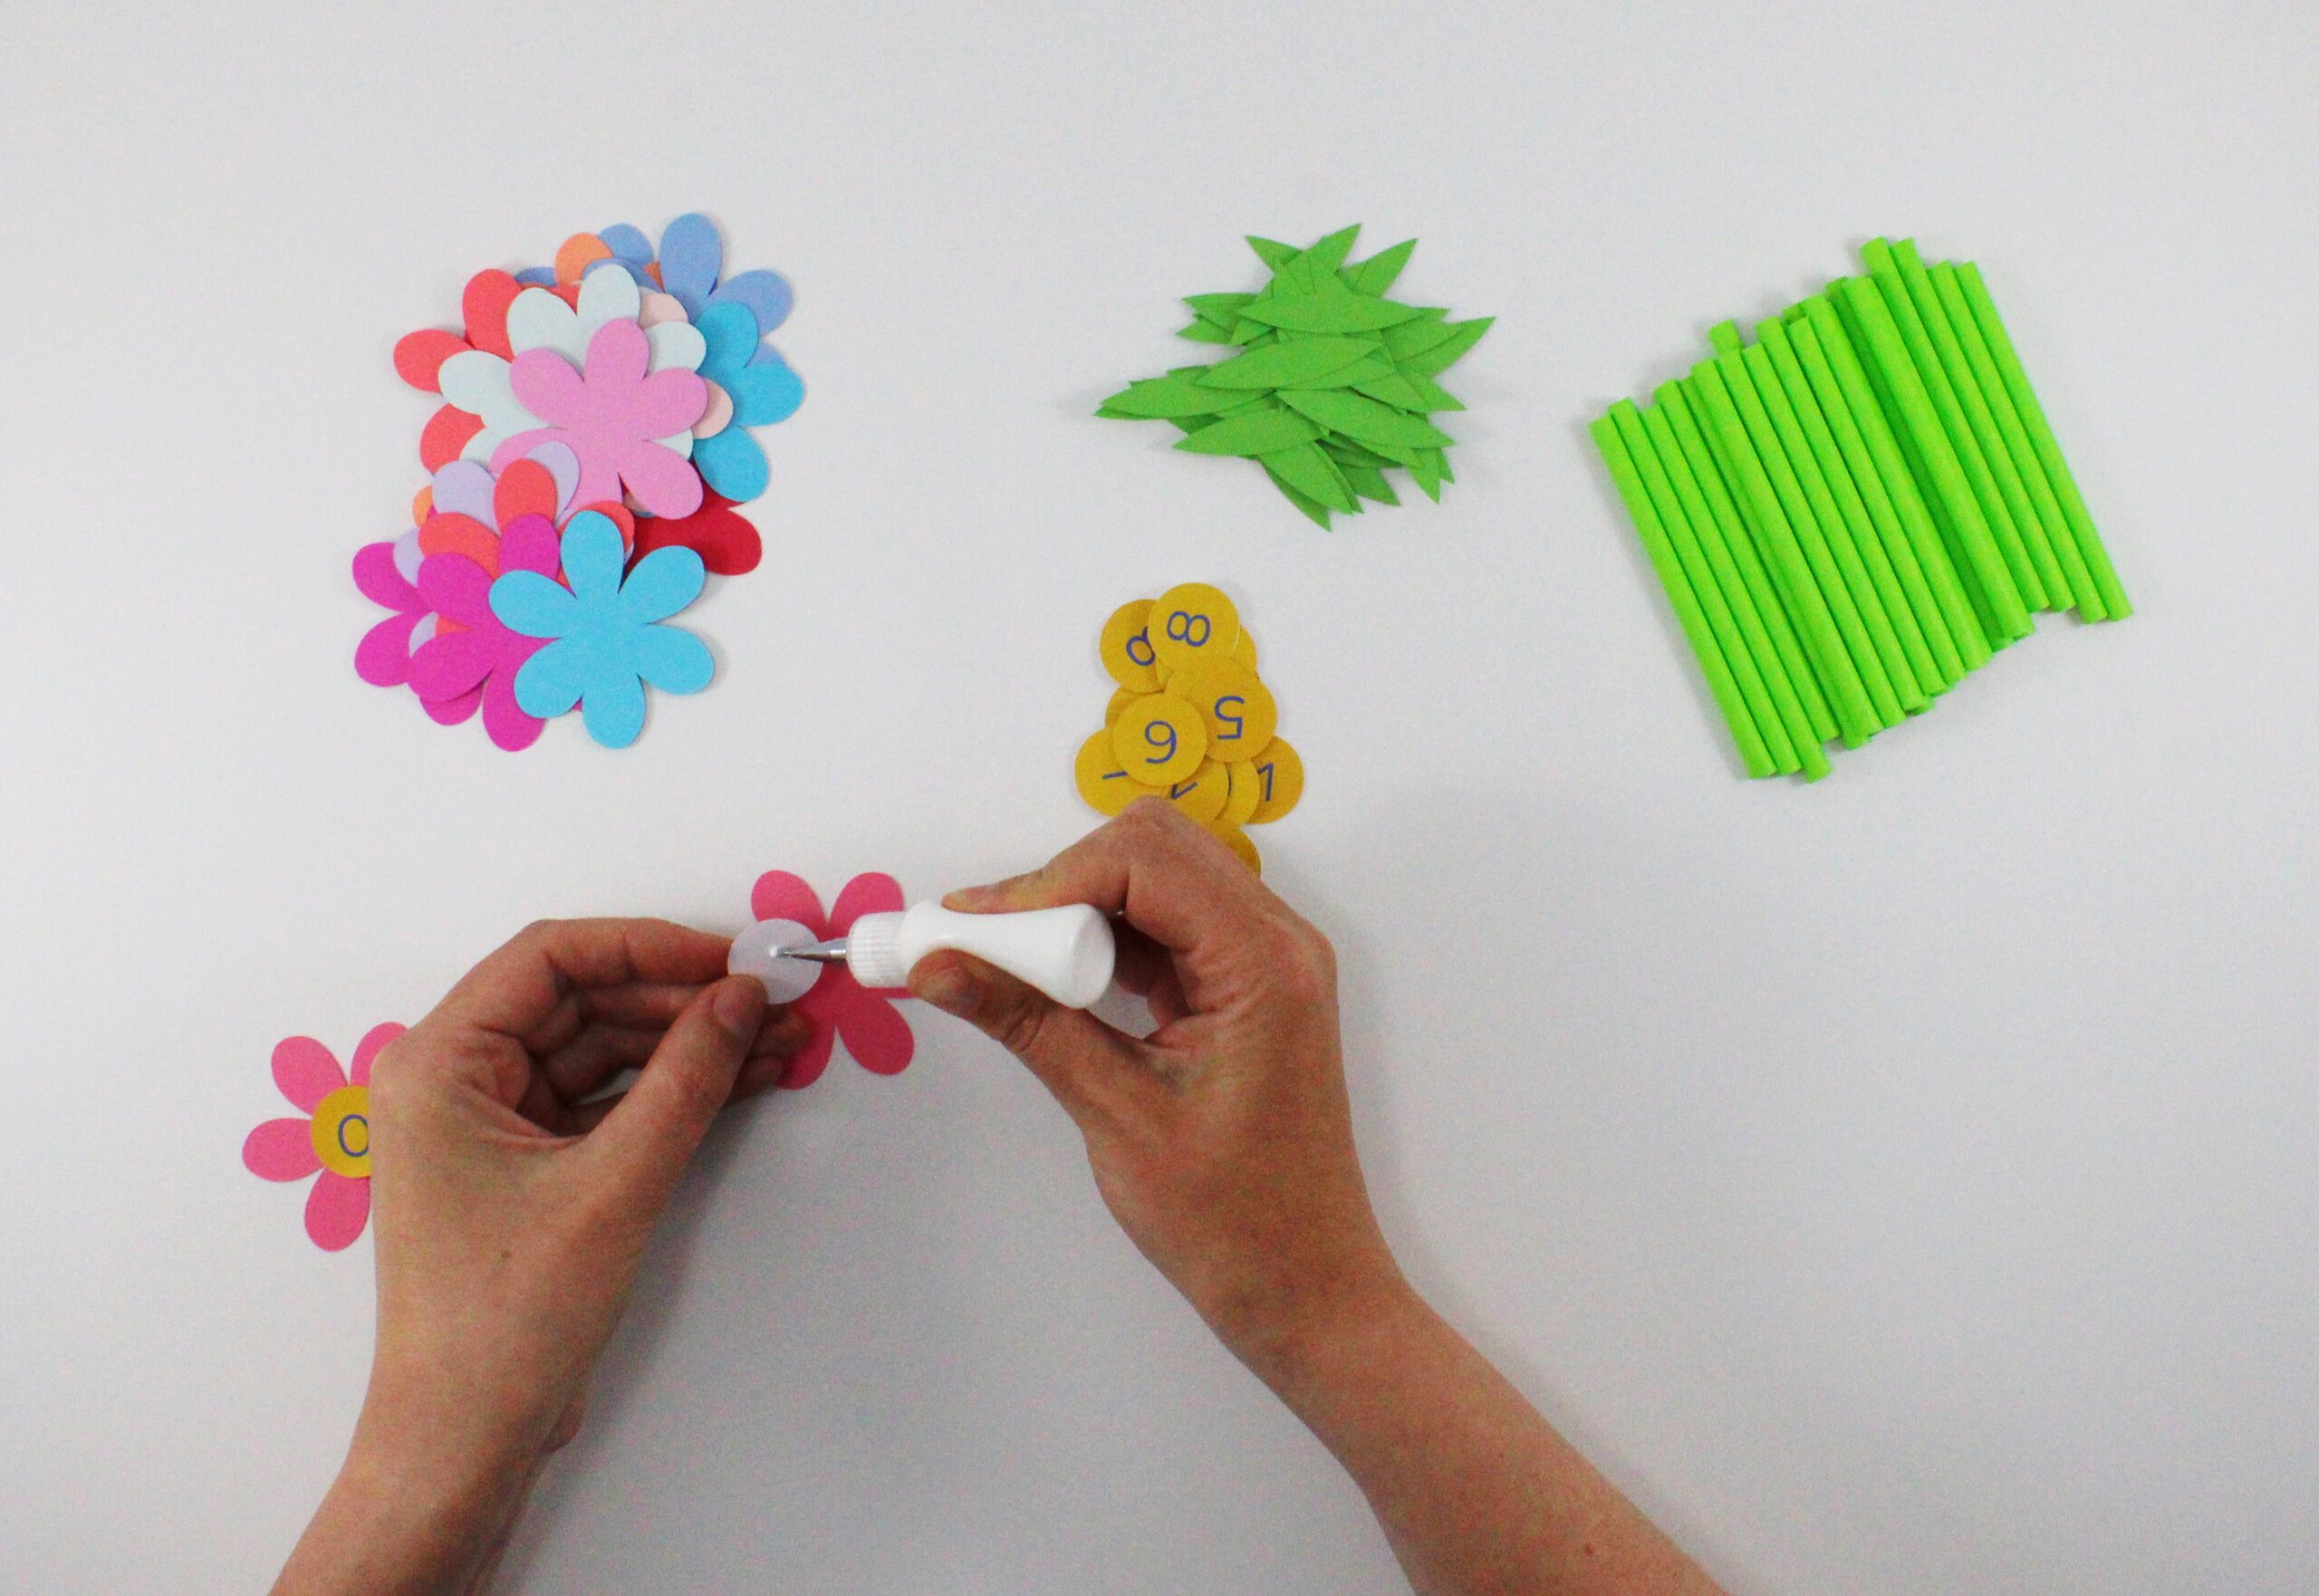
Glue the flower head to the top of the green straw.
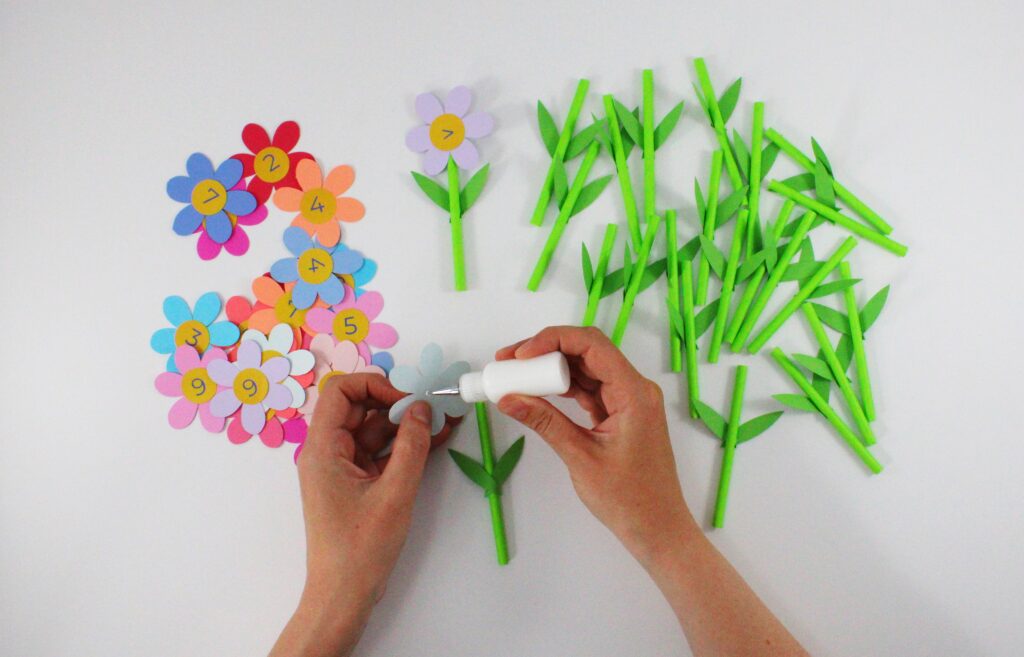
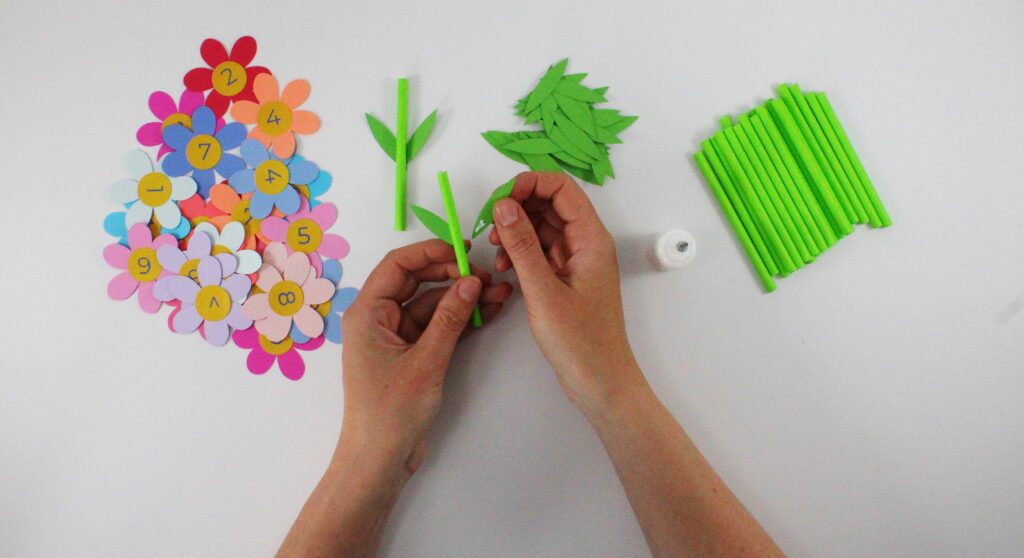
Glue 2 green leaves onto the straw.
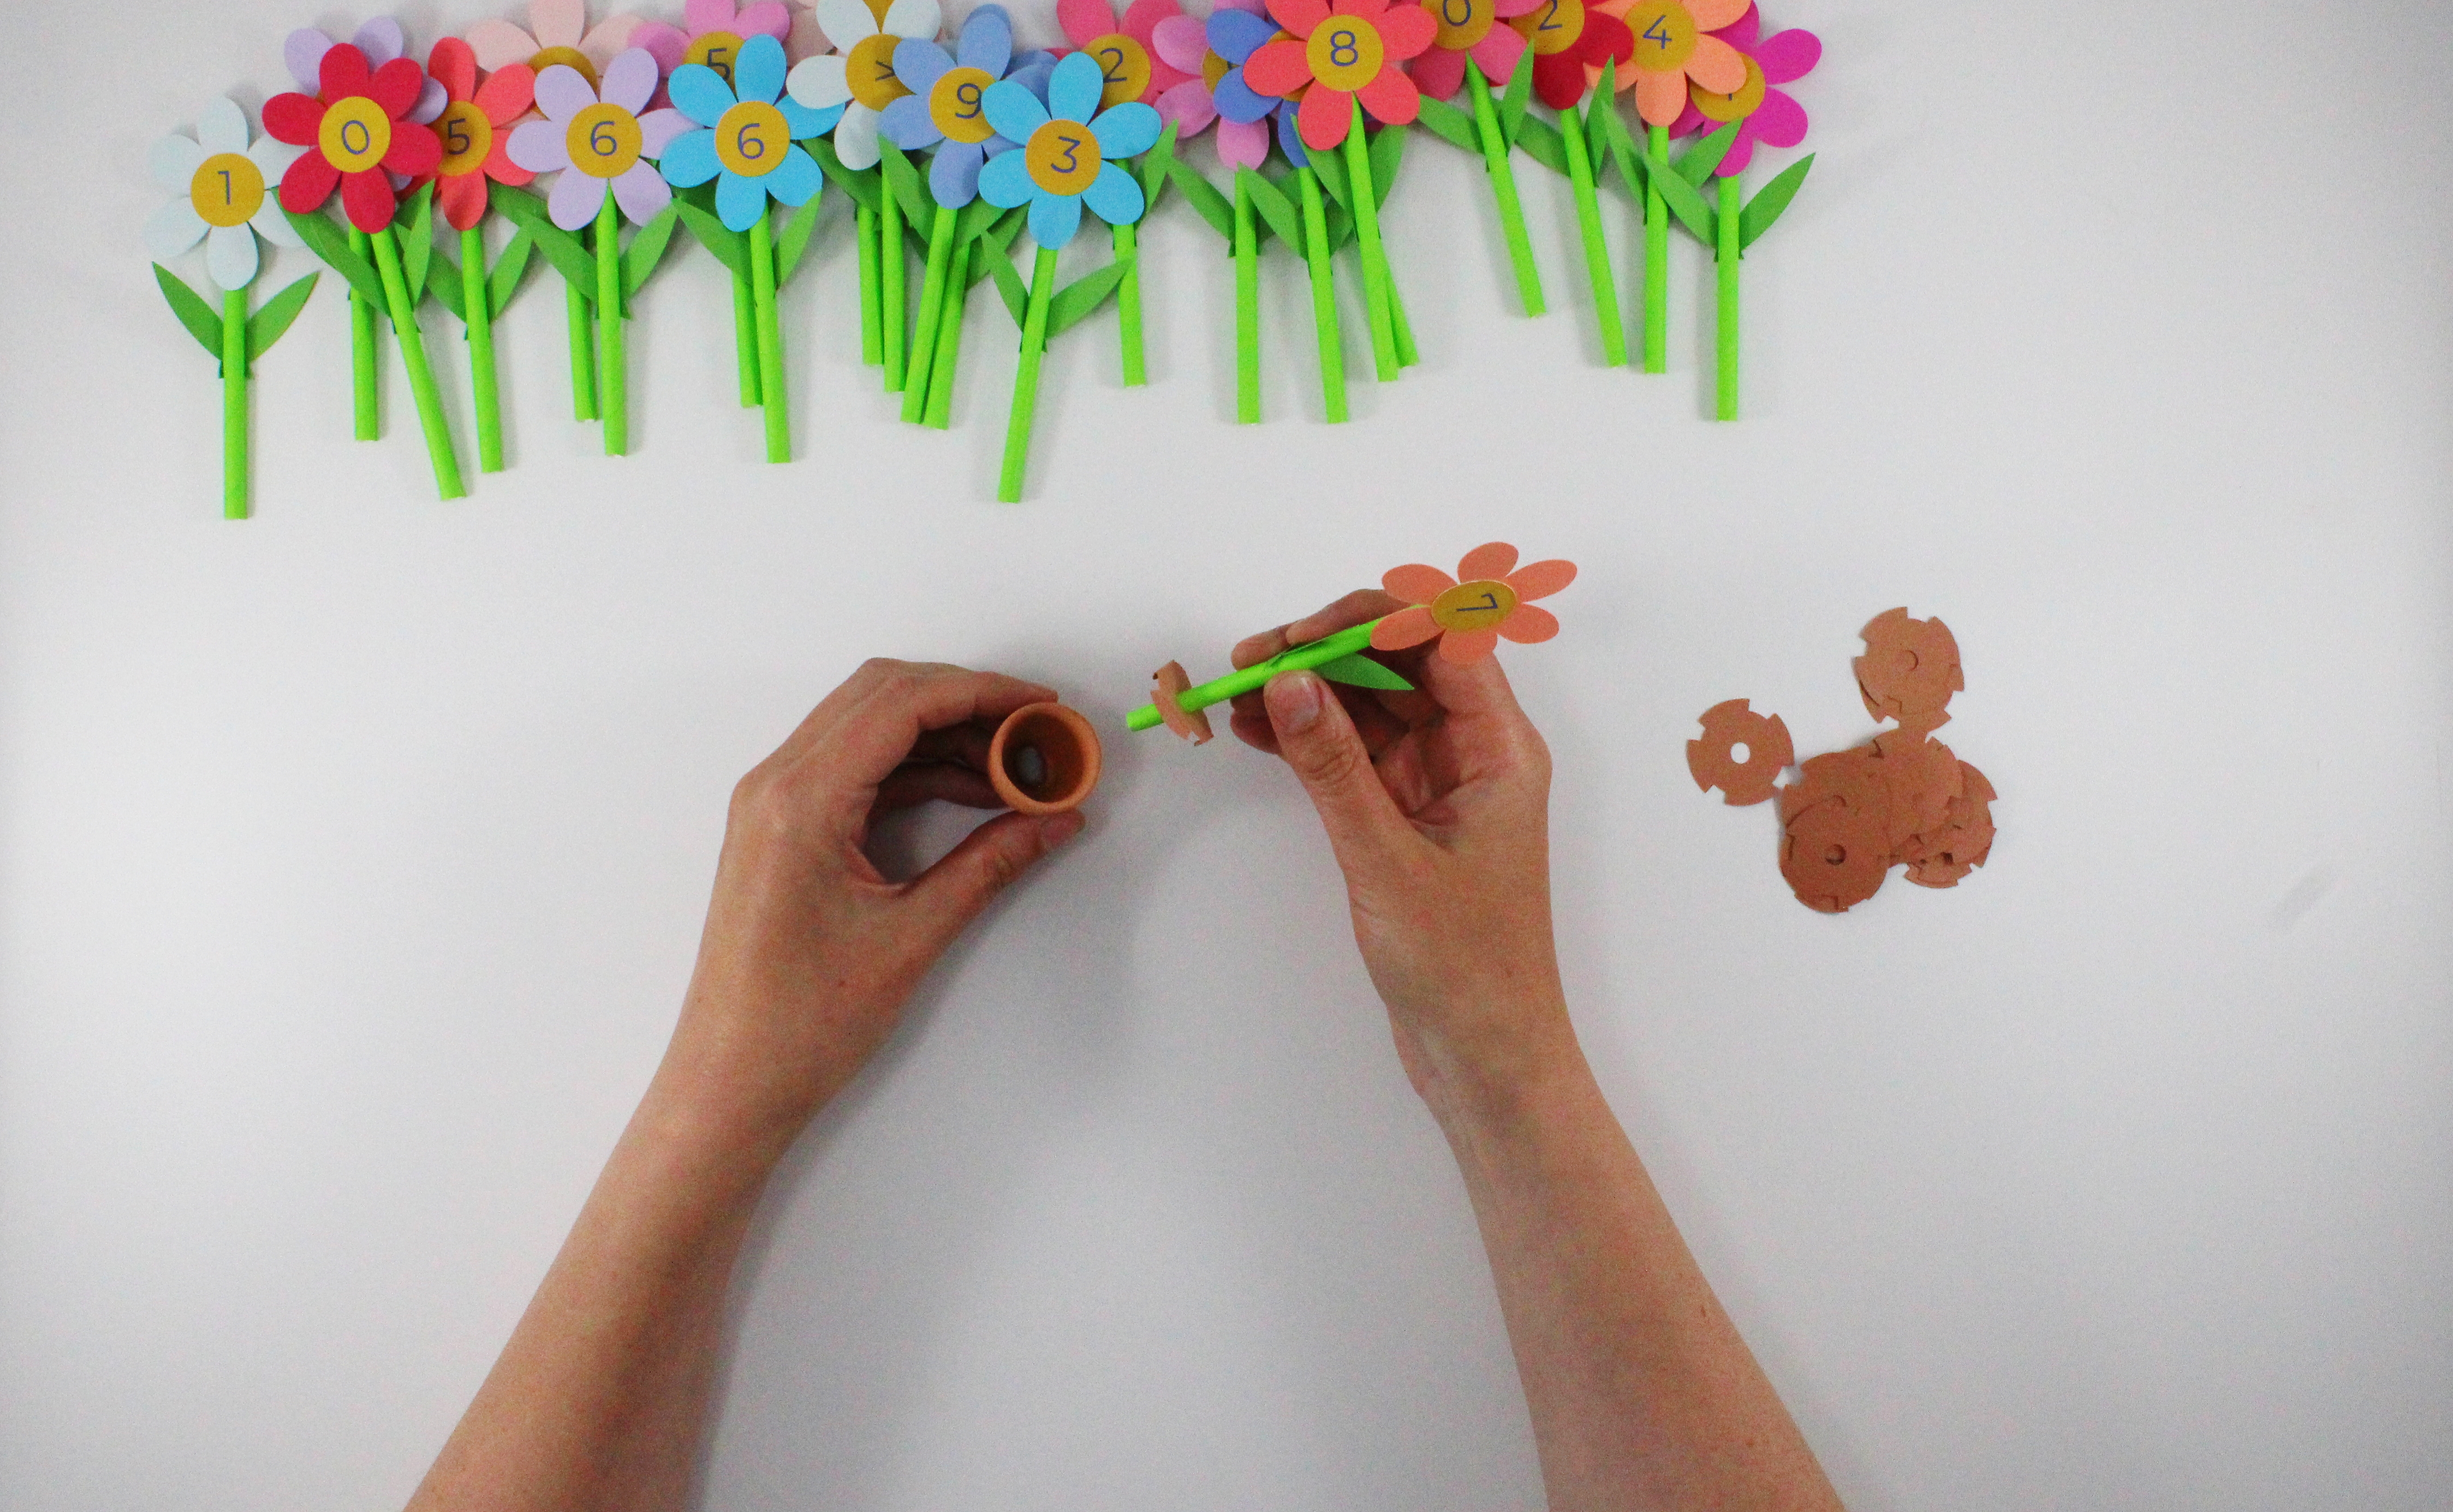
Poke the bottom of your straw through the hole in the pot top piece.
Fix to the bottom of a pot using a blob of poster putty.
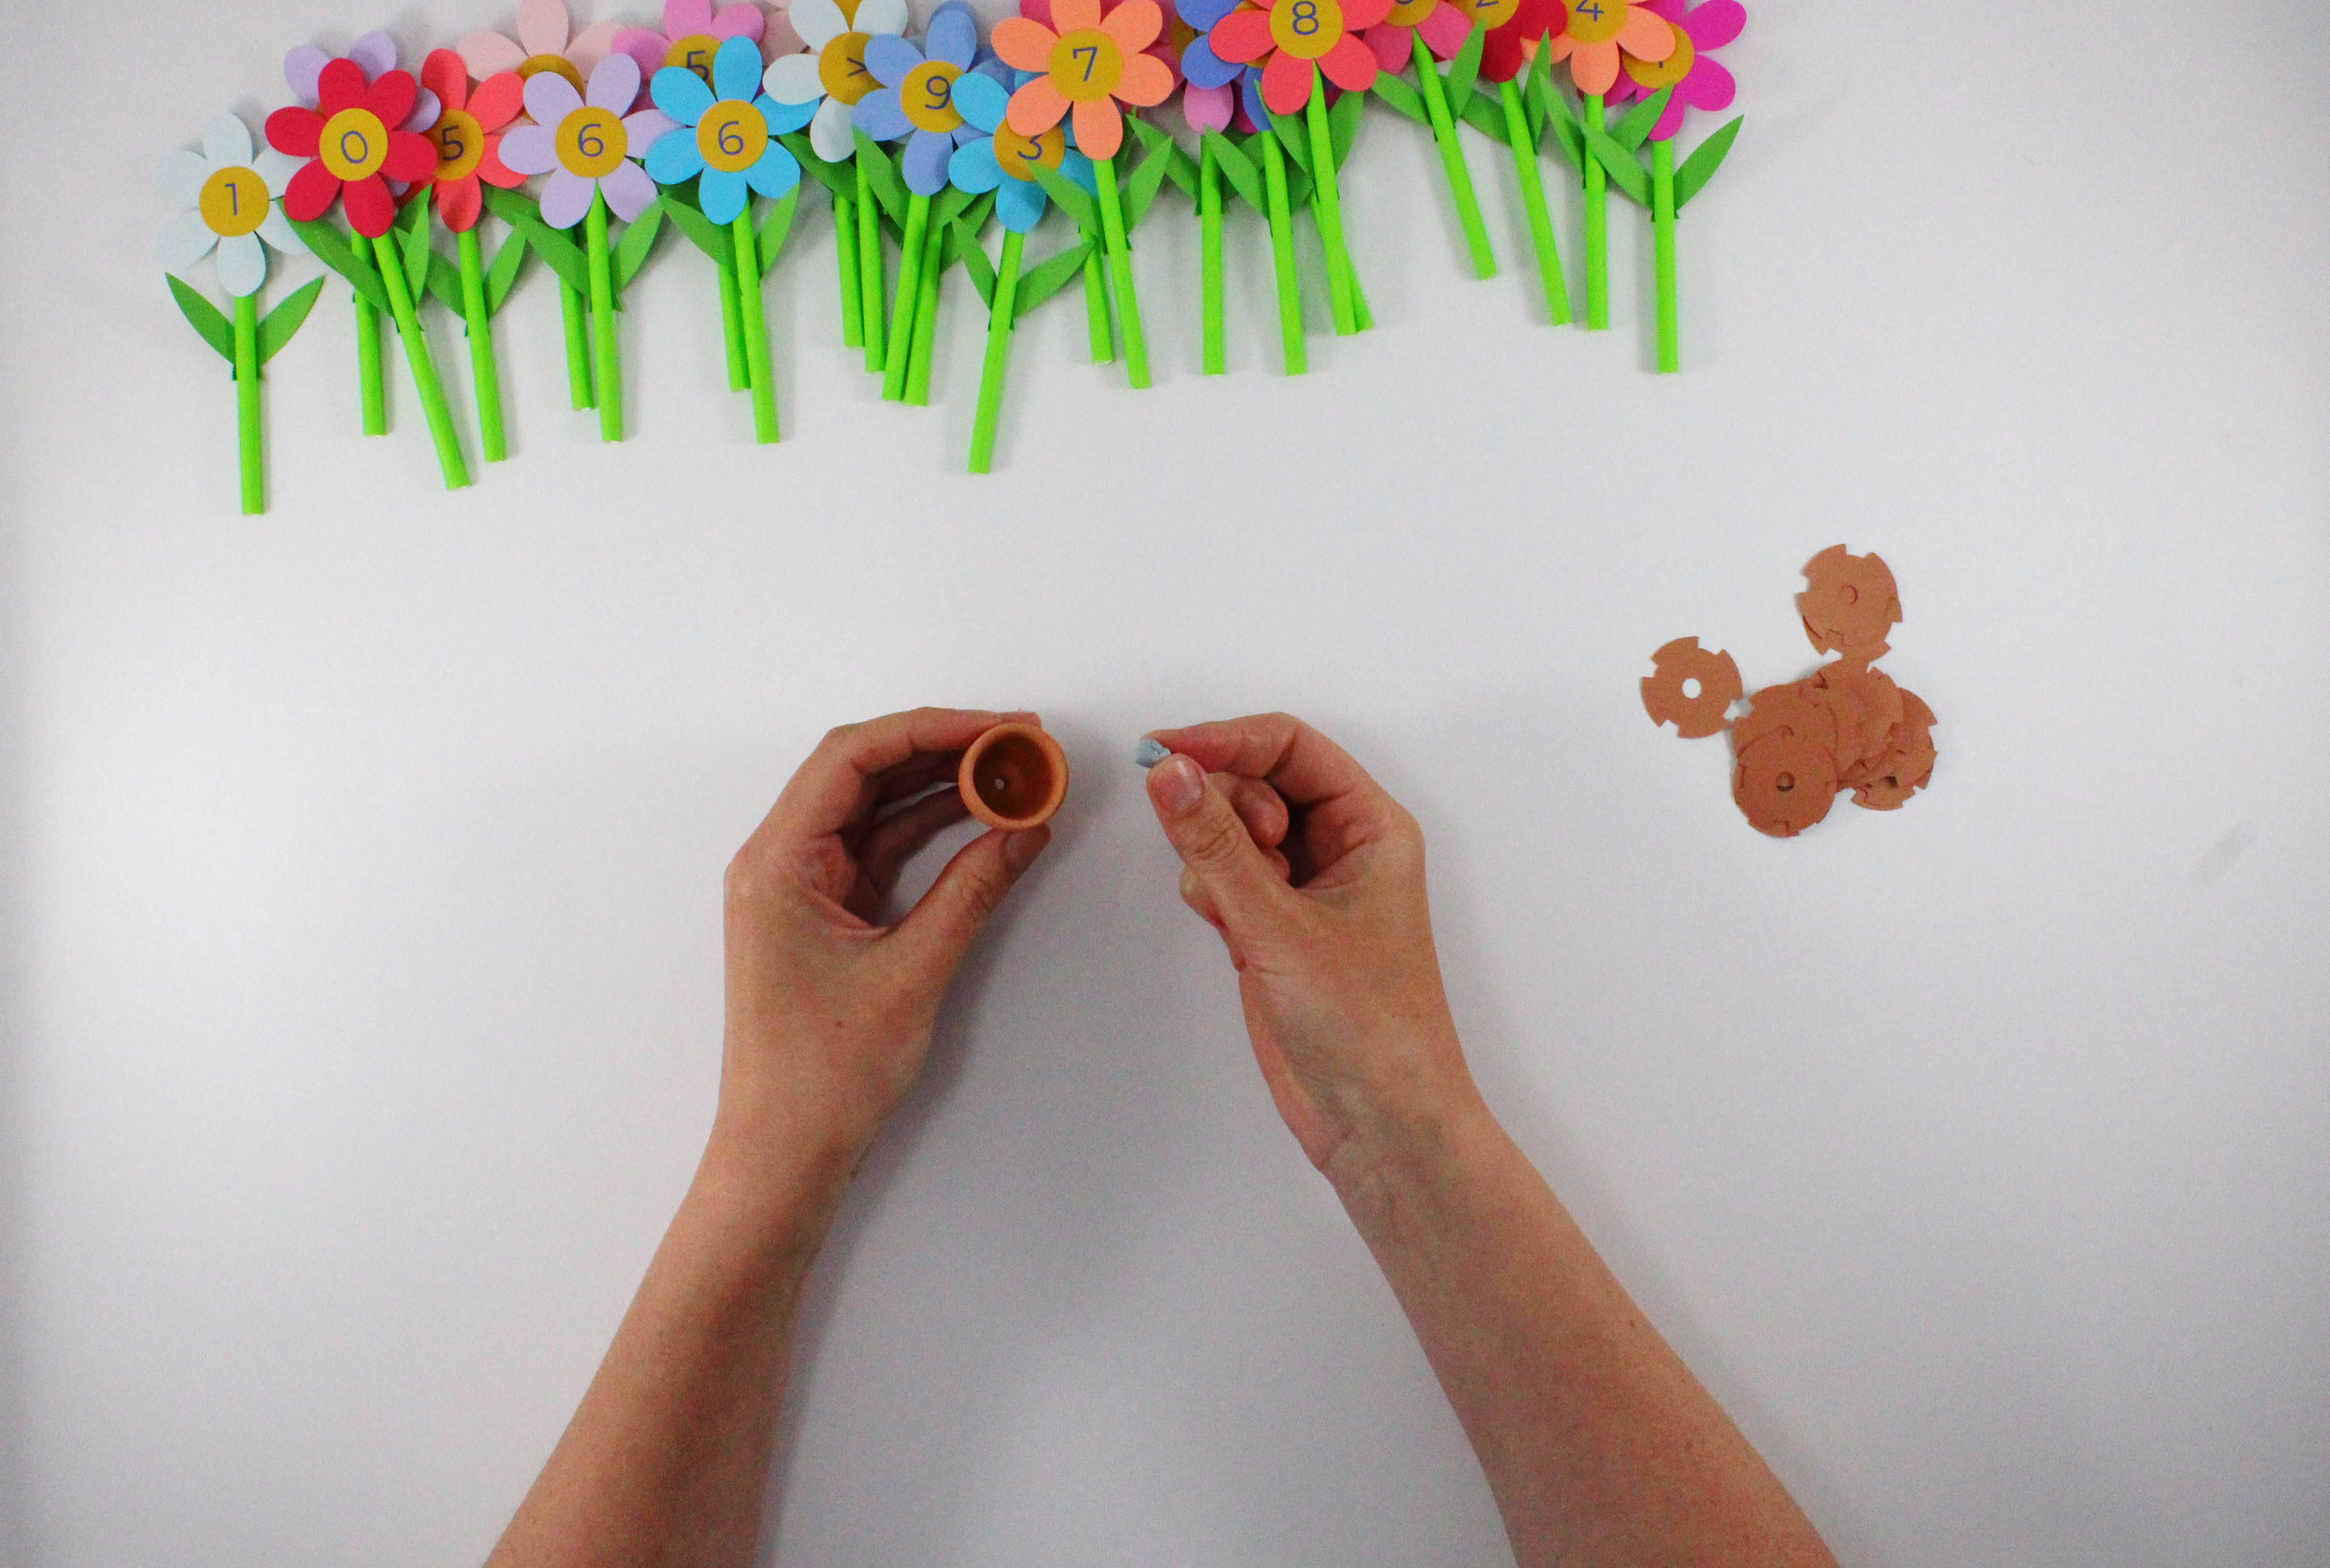
Push the pot top into the top of the pot.
Once all of your flower pots are assembled, you are ready to play your higher lower game!
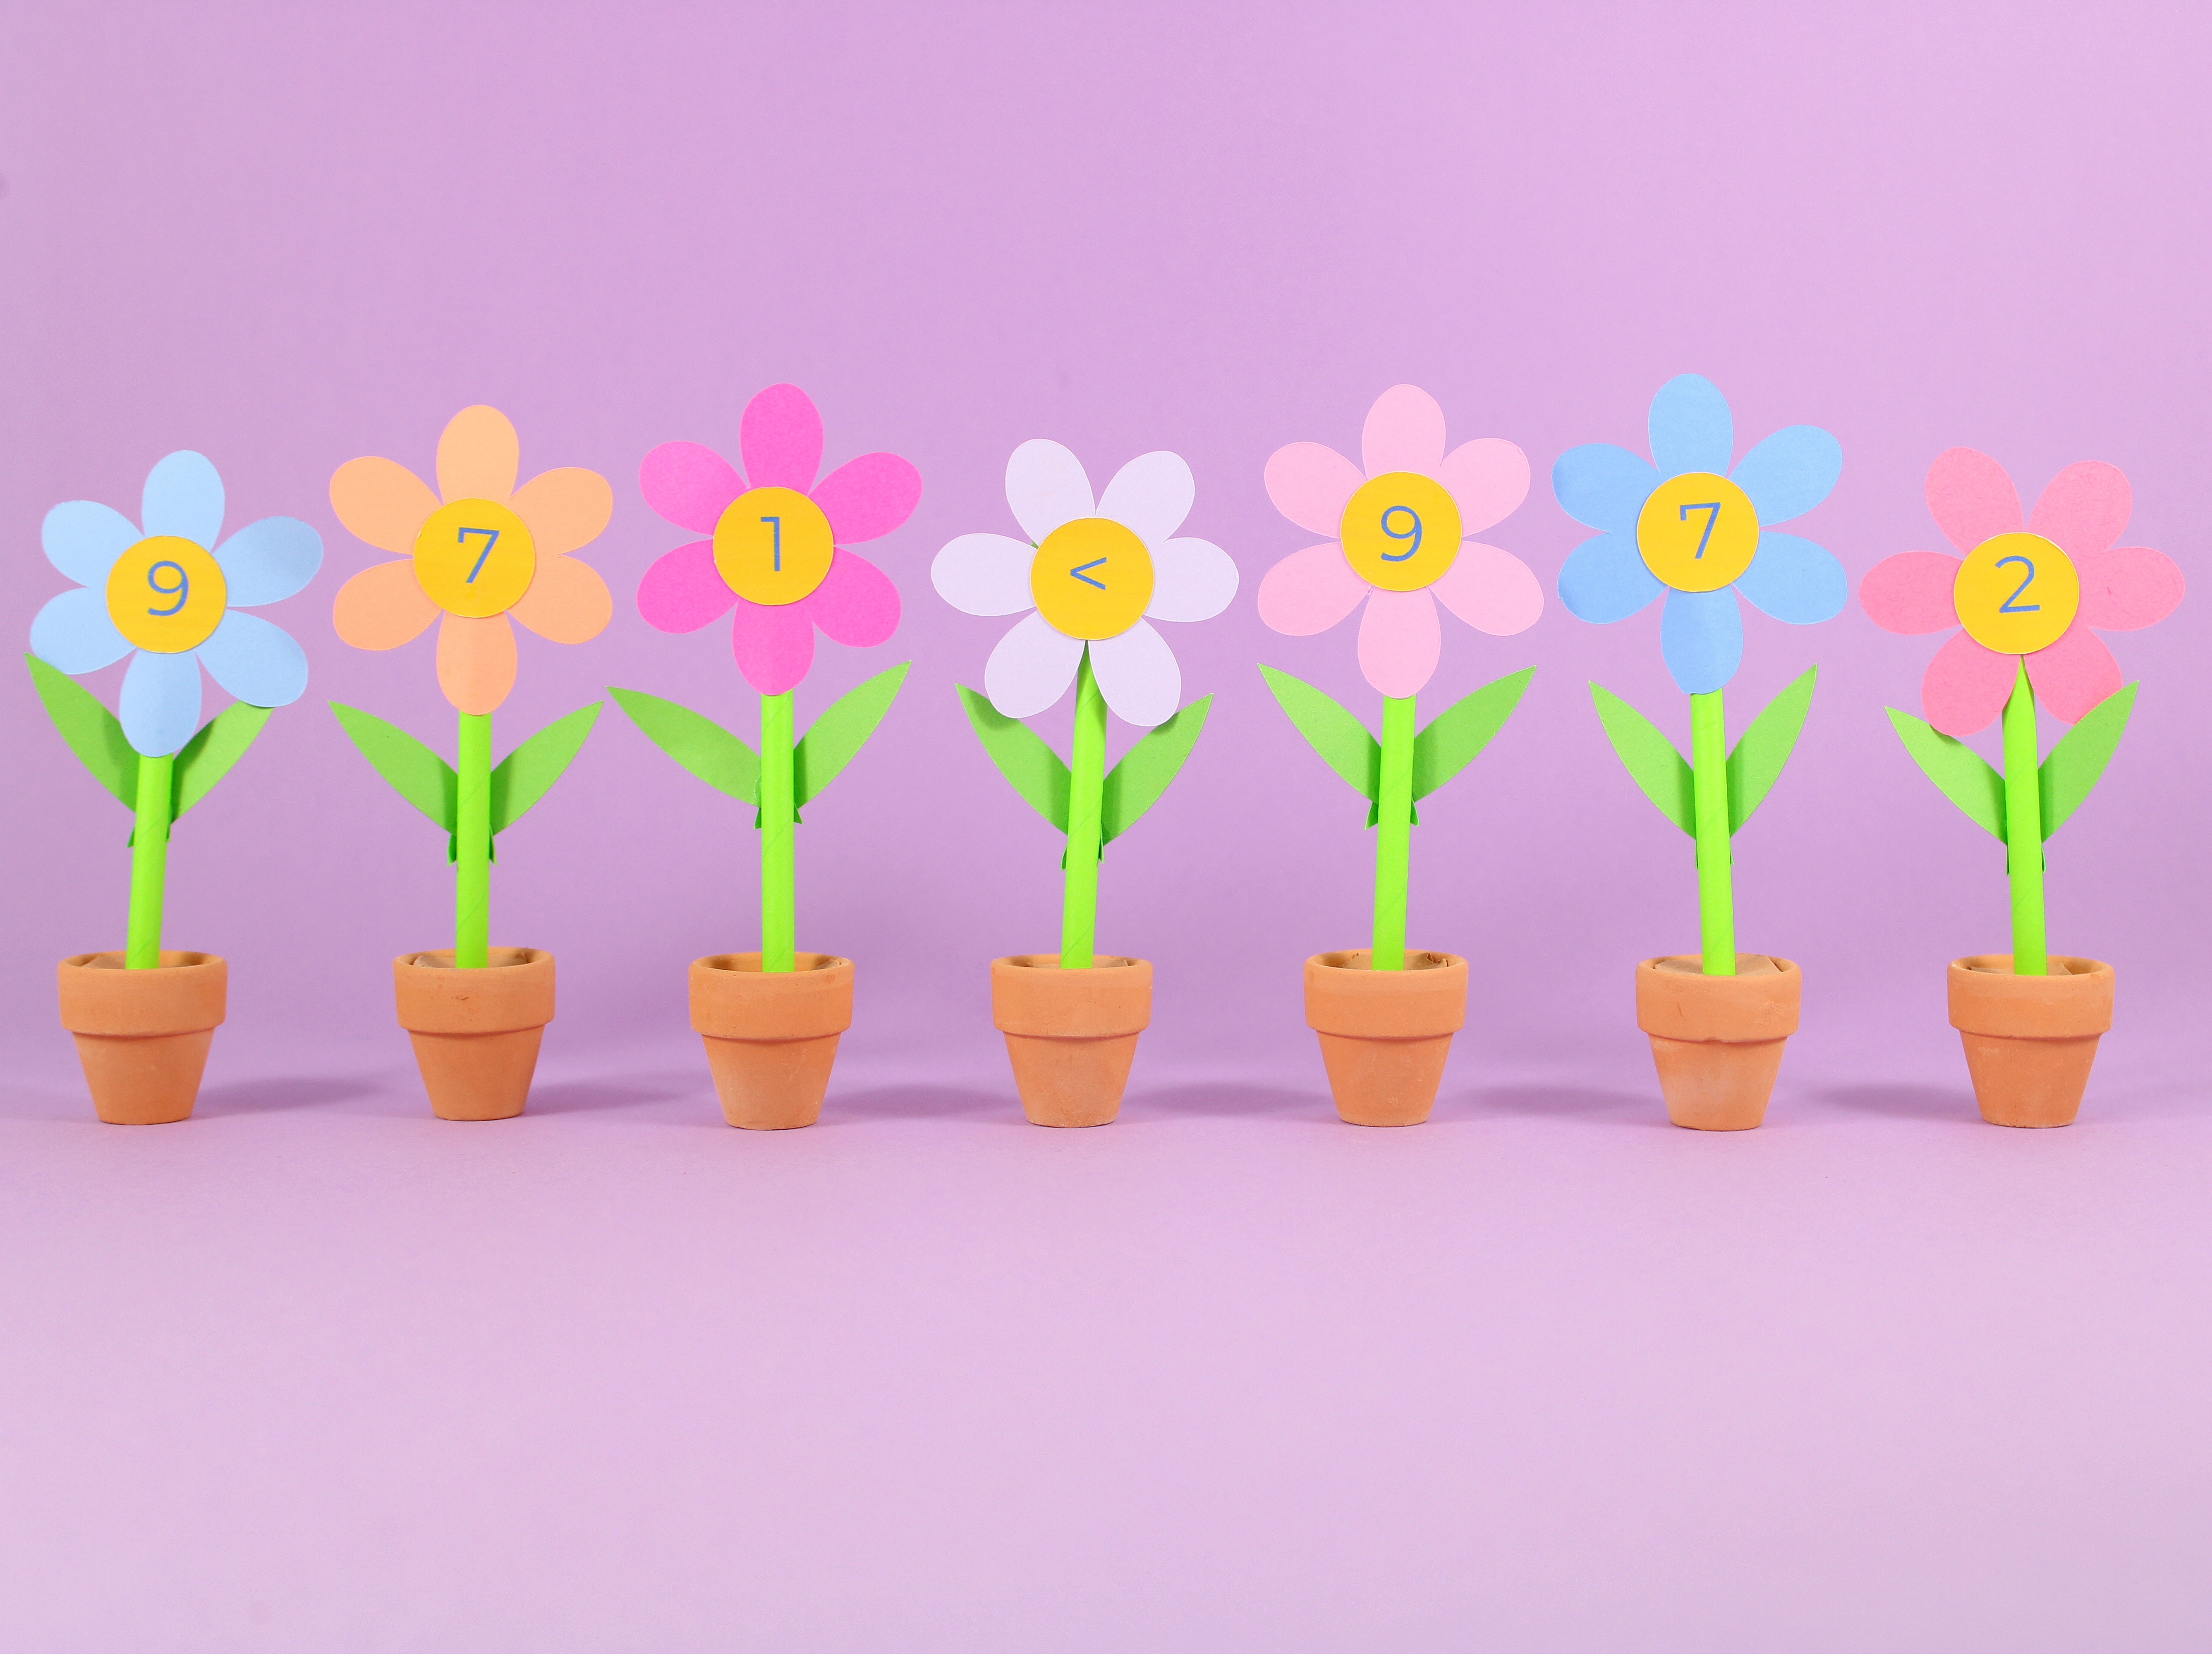
How To Play Higher Or Lower Flower Math Game
Lay out the number flower pots on a flat surface with 3 numbers on one side and 3 on the other, with a gap in the middle.
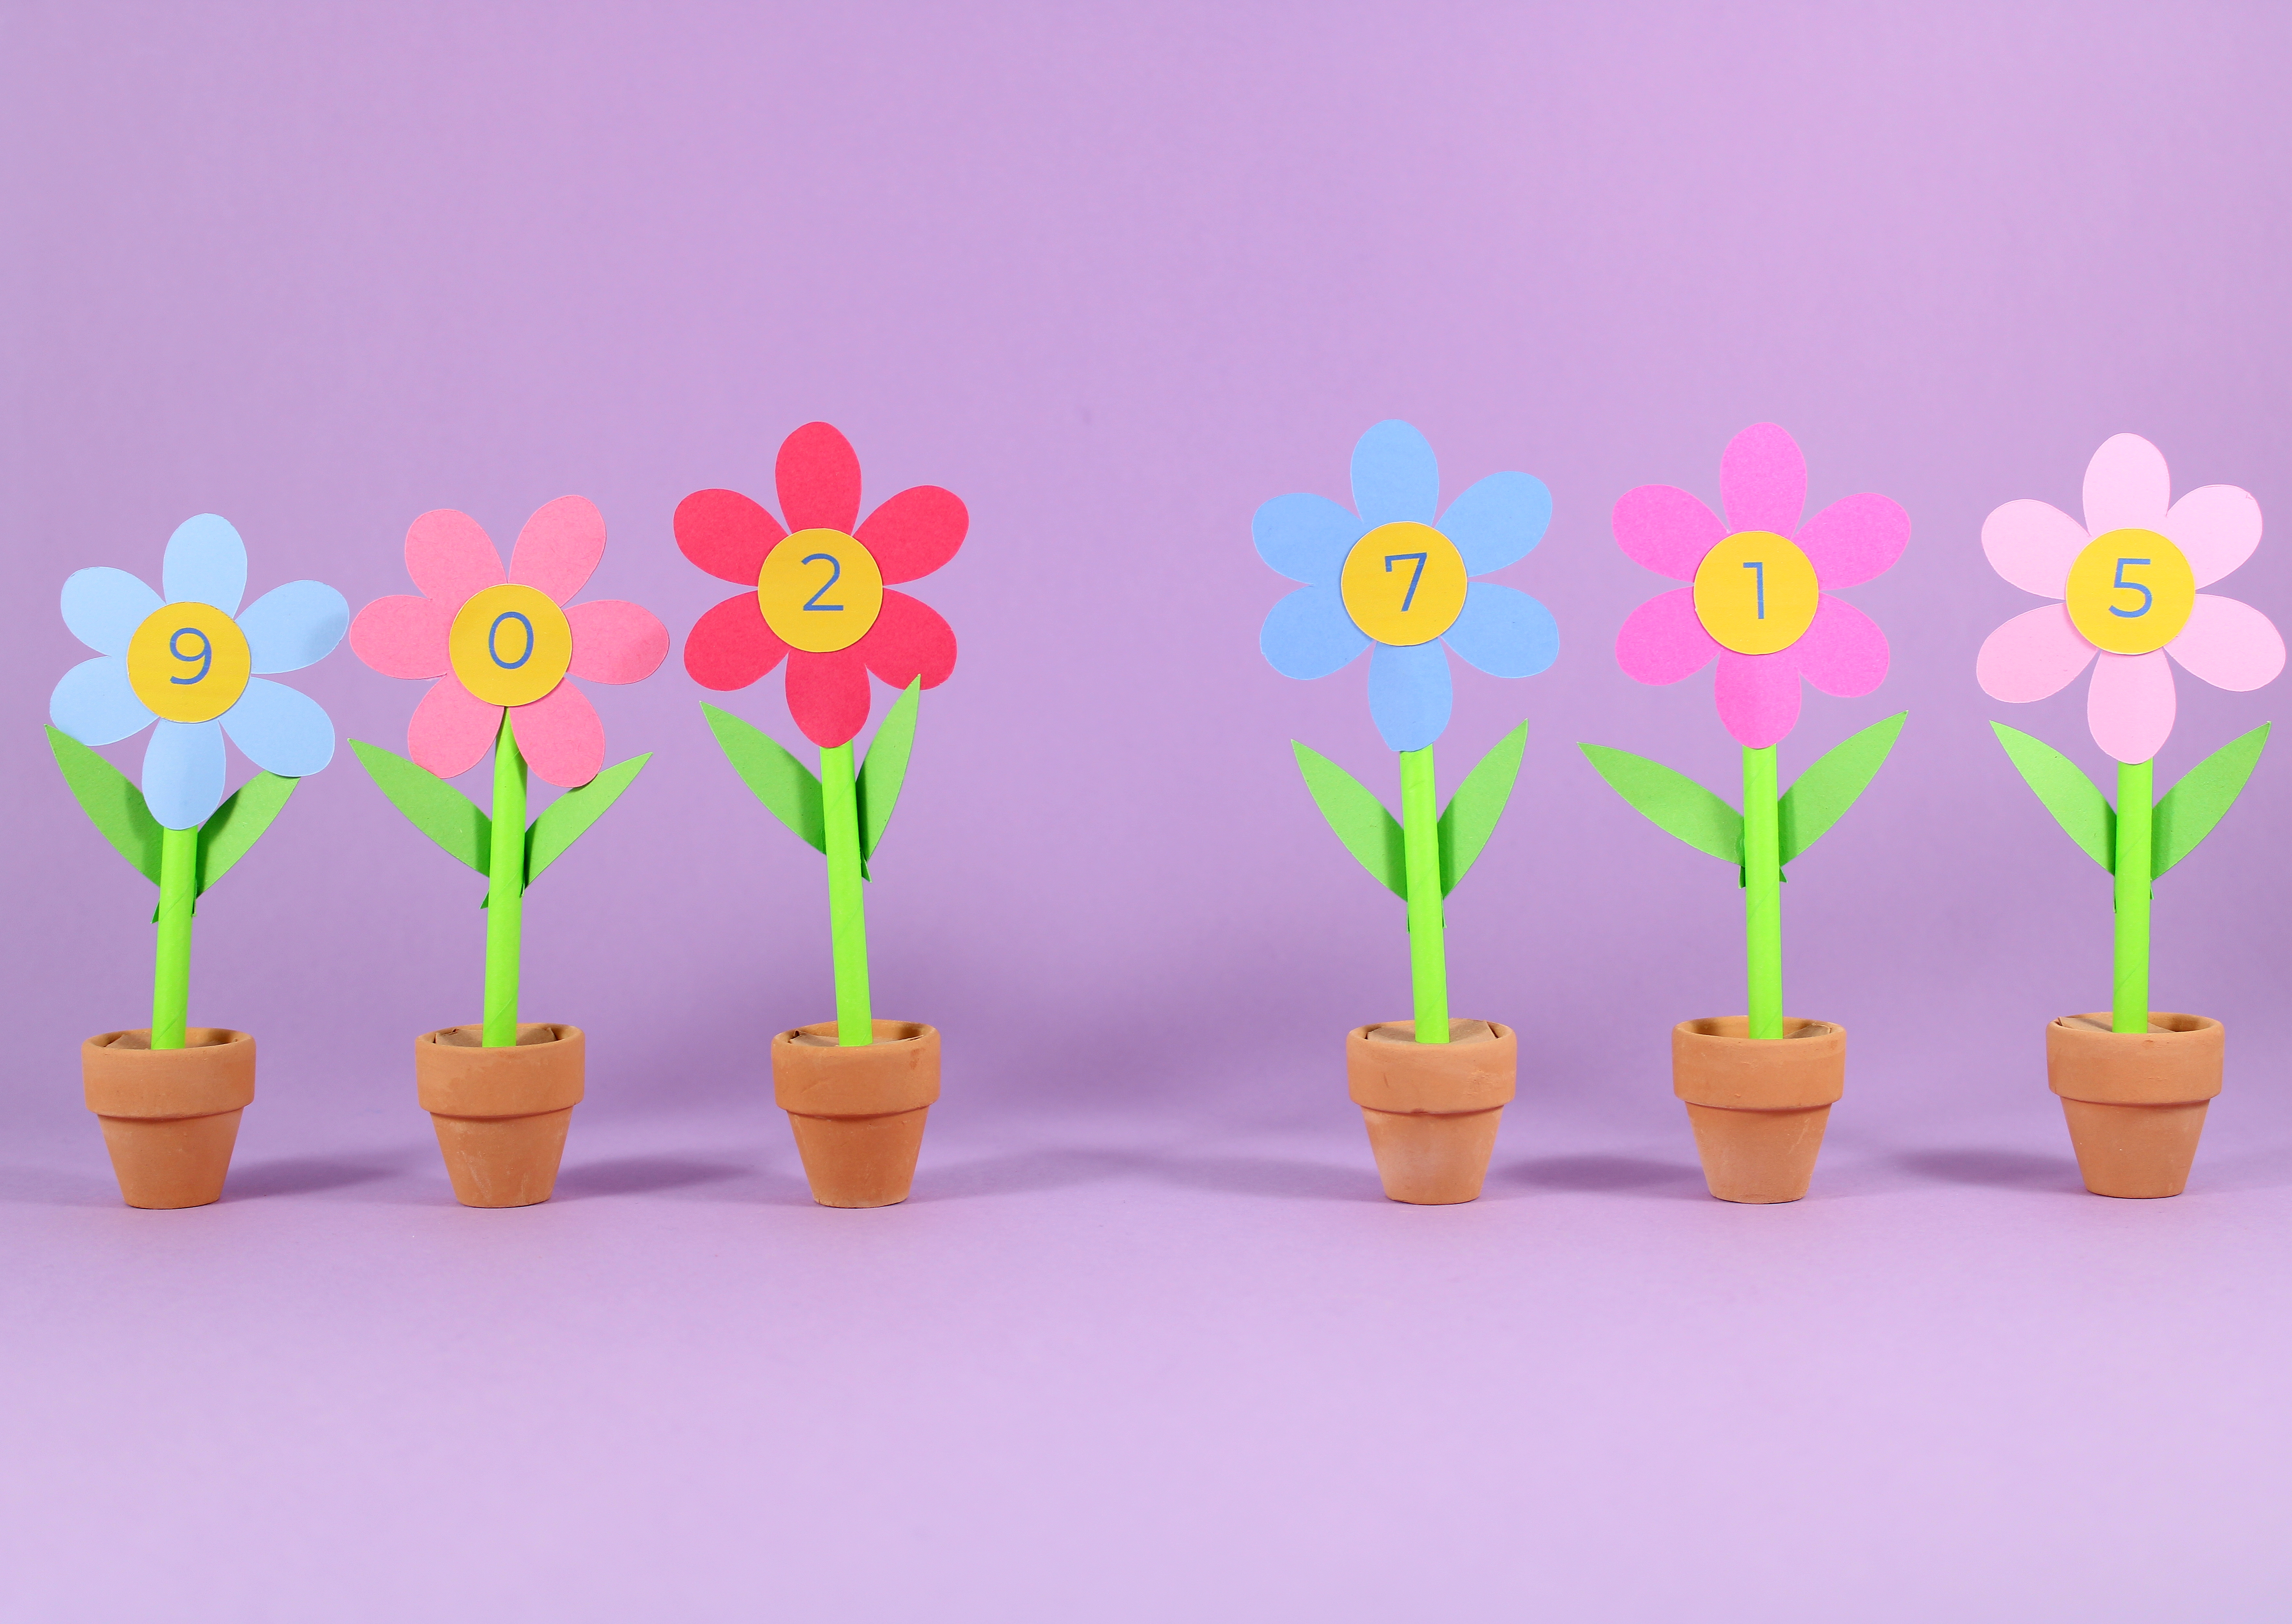
Position the flowers with the symbols = (equal to) > (higher than) and < (lower than), in front of or to the side of the number flowers. Ask your child to place the correct sign in the middle of your number flowers groups.
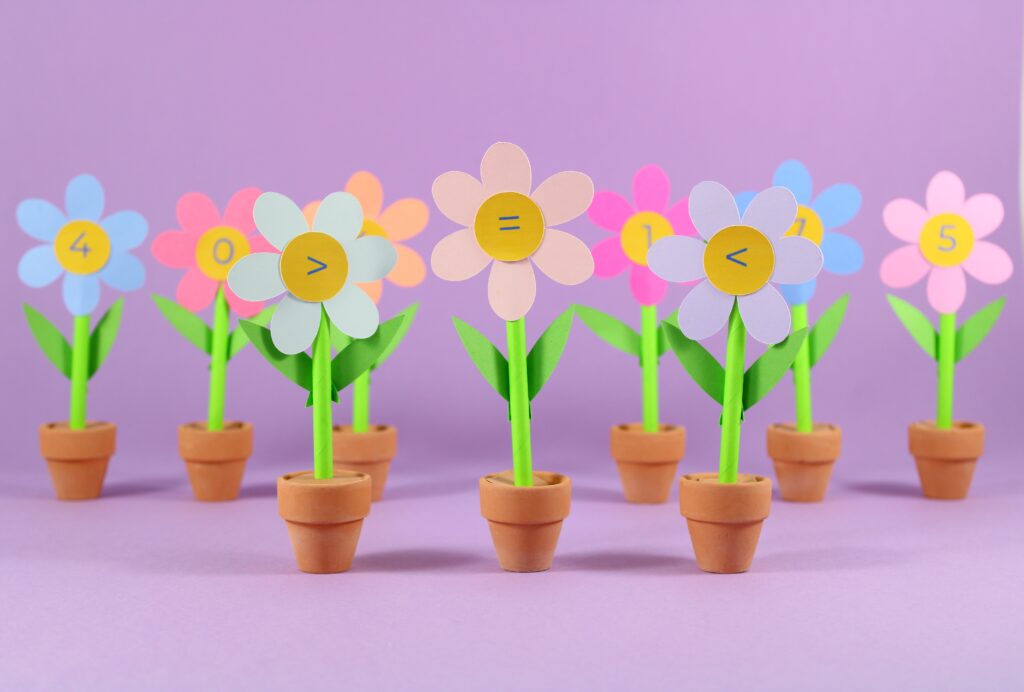
In the example below, the number 404 on the left is higher than the 175 on the right, so the > (higher than) symbol has been inserted.
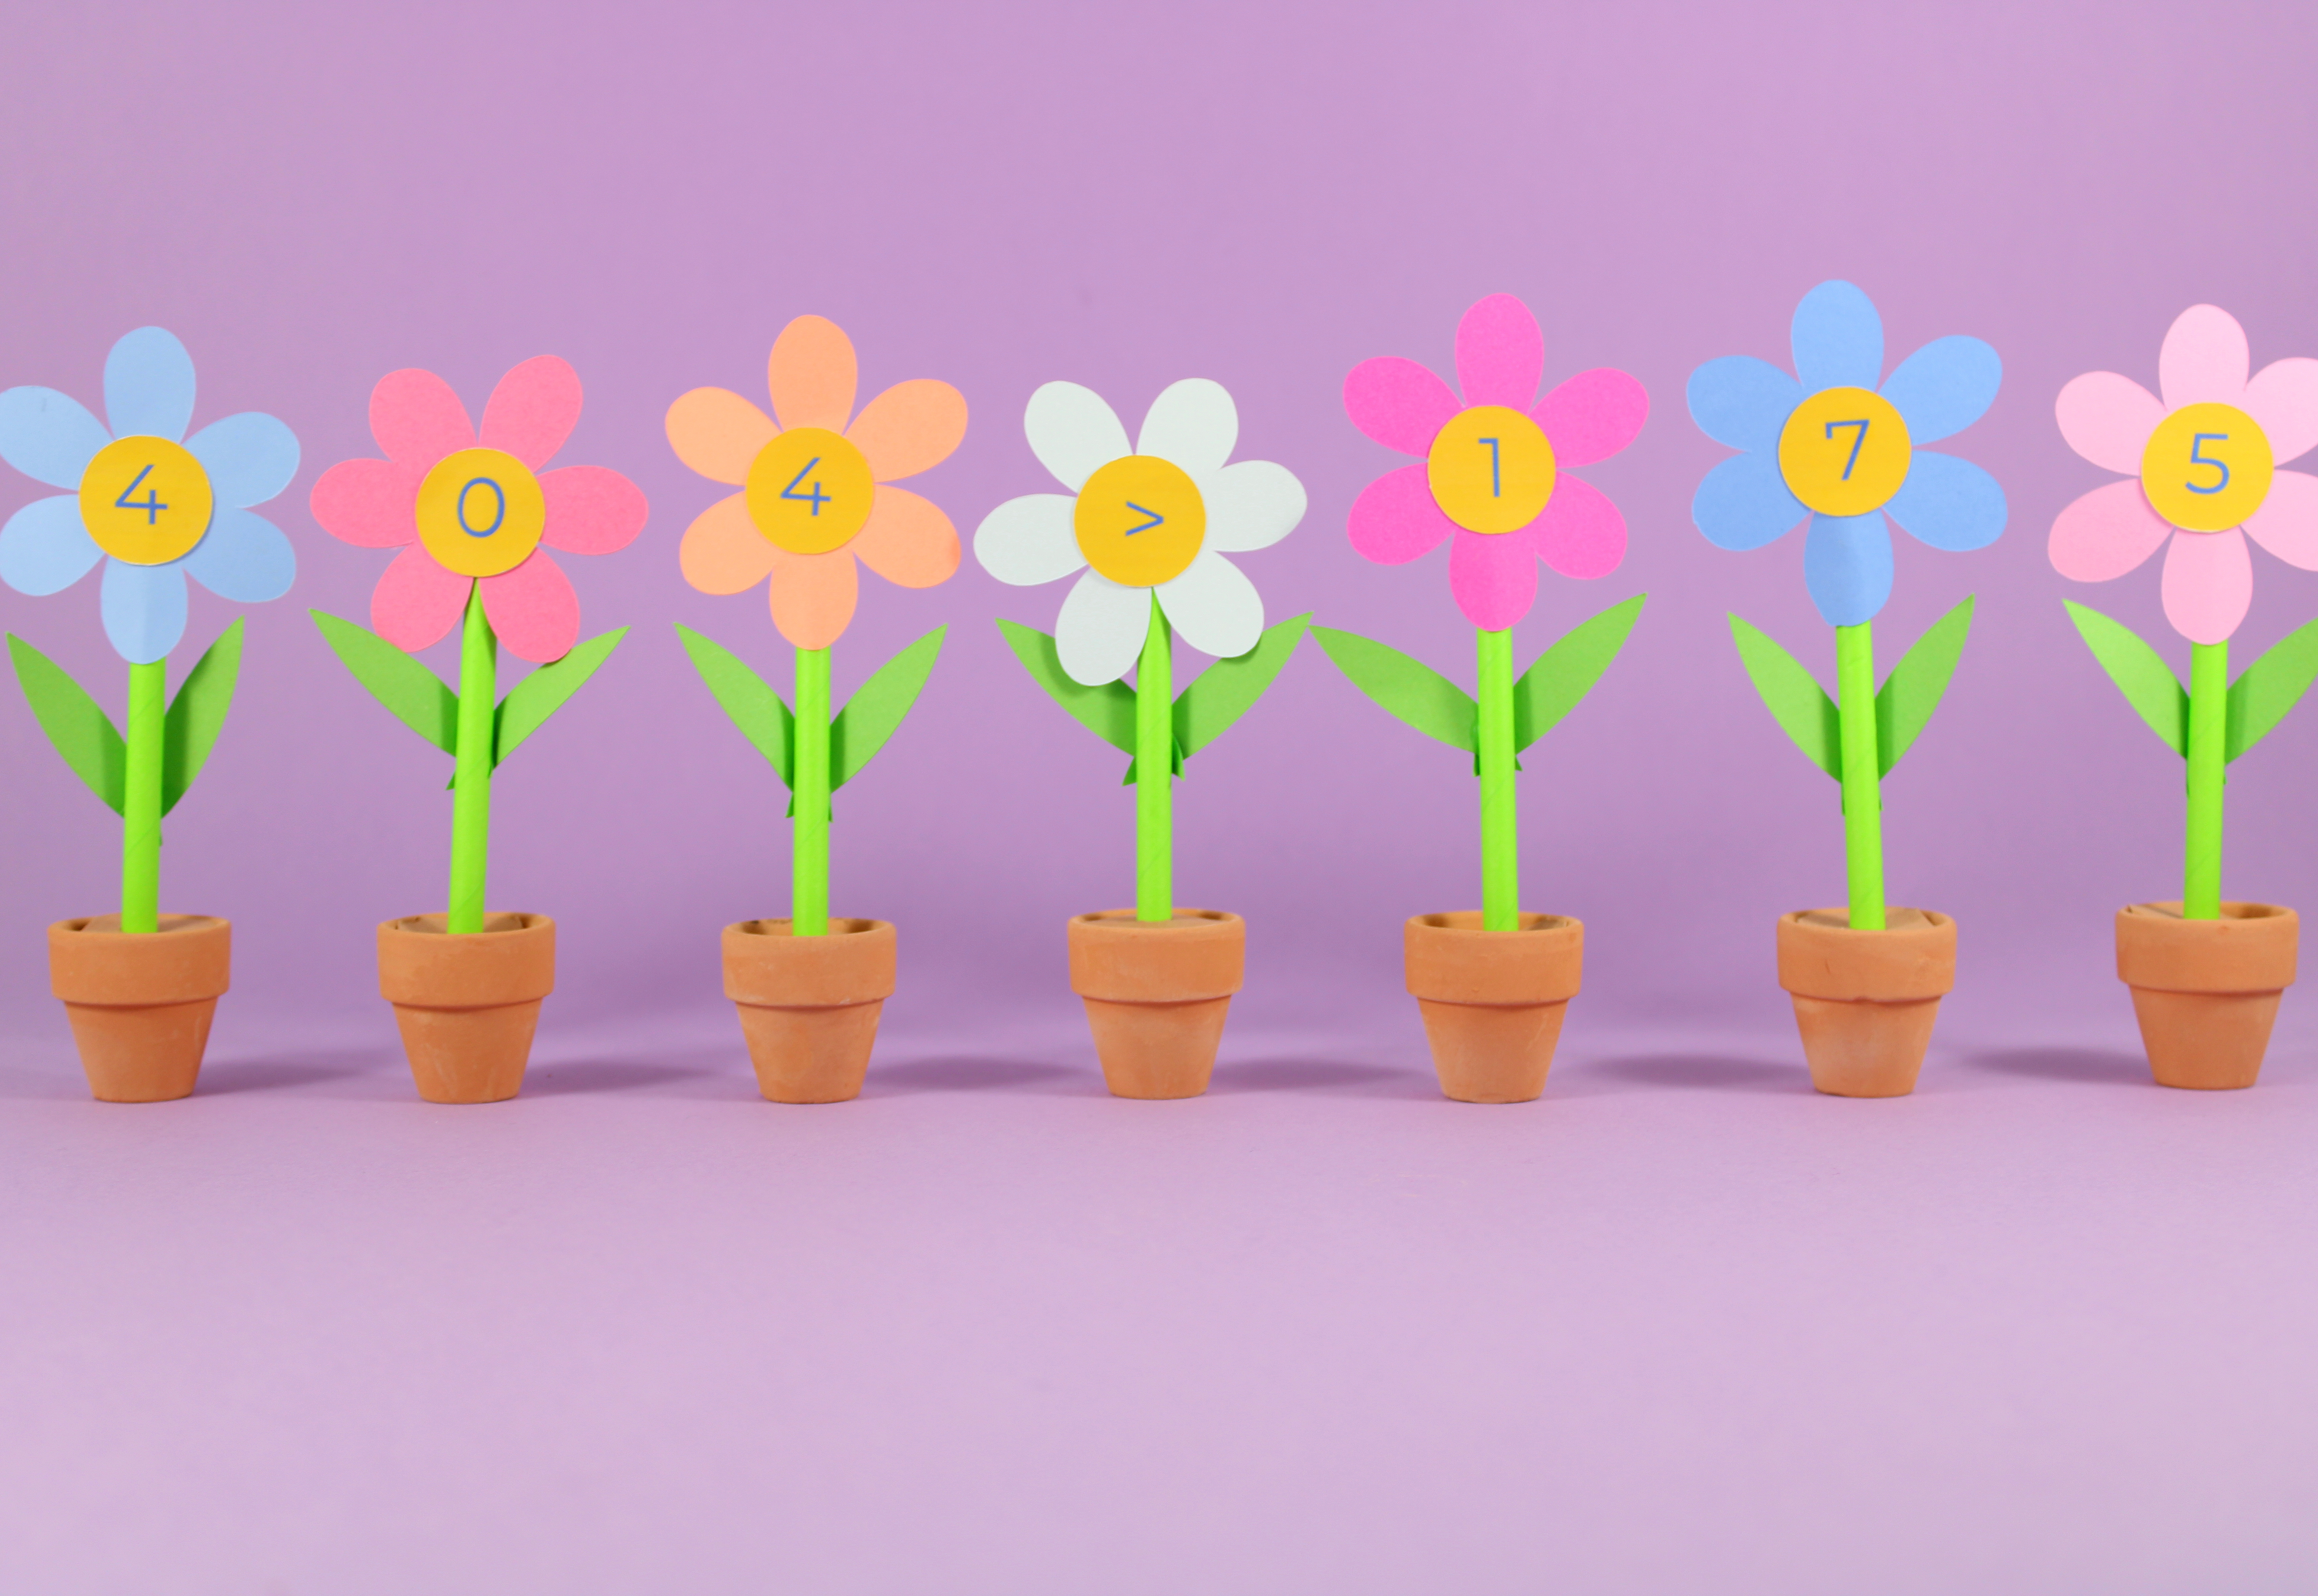
In the image below, the number on the left is equal to the number on the right, so the = (equals) sign has been inserted.
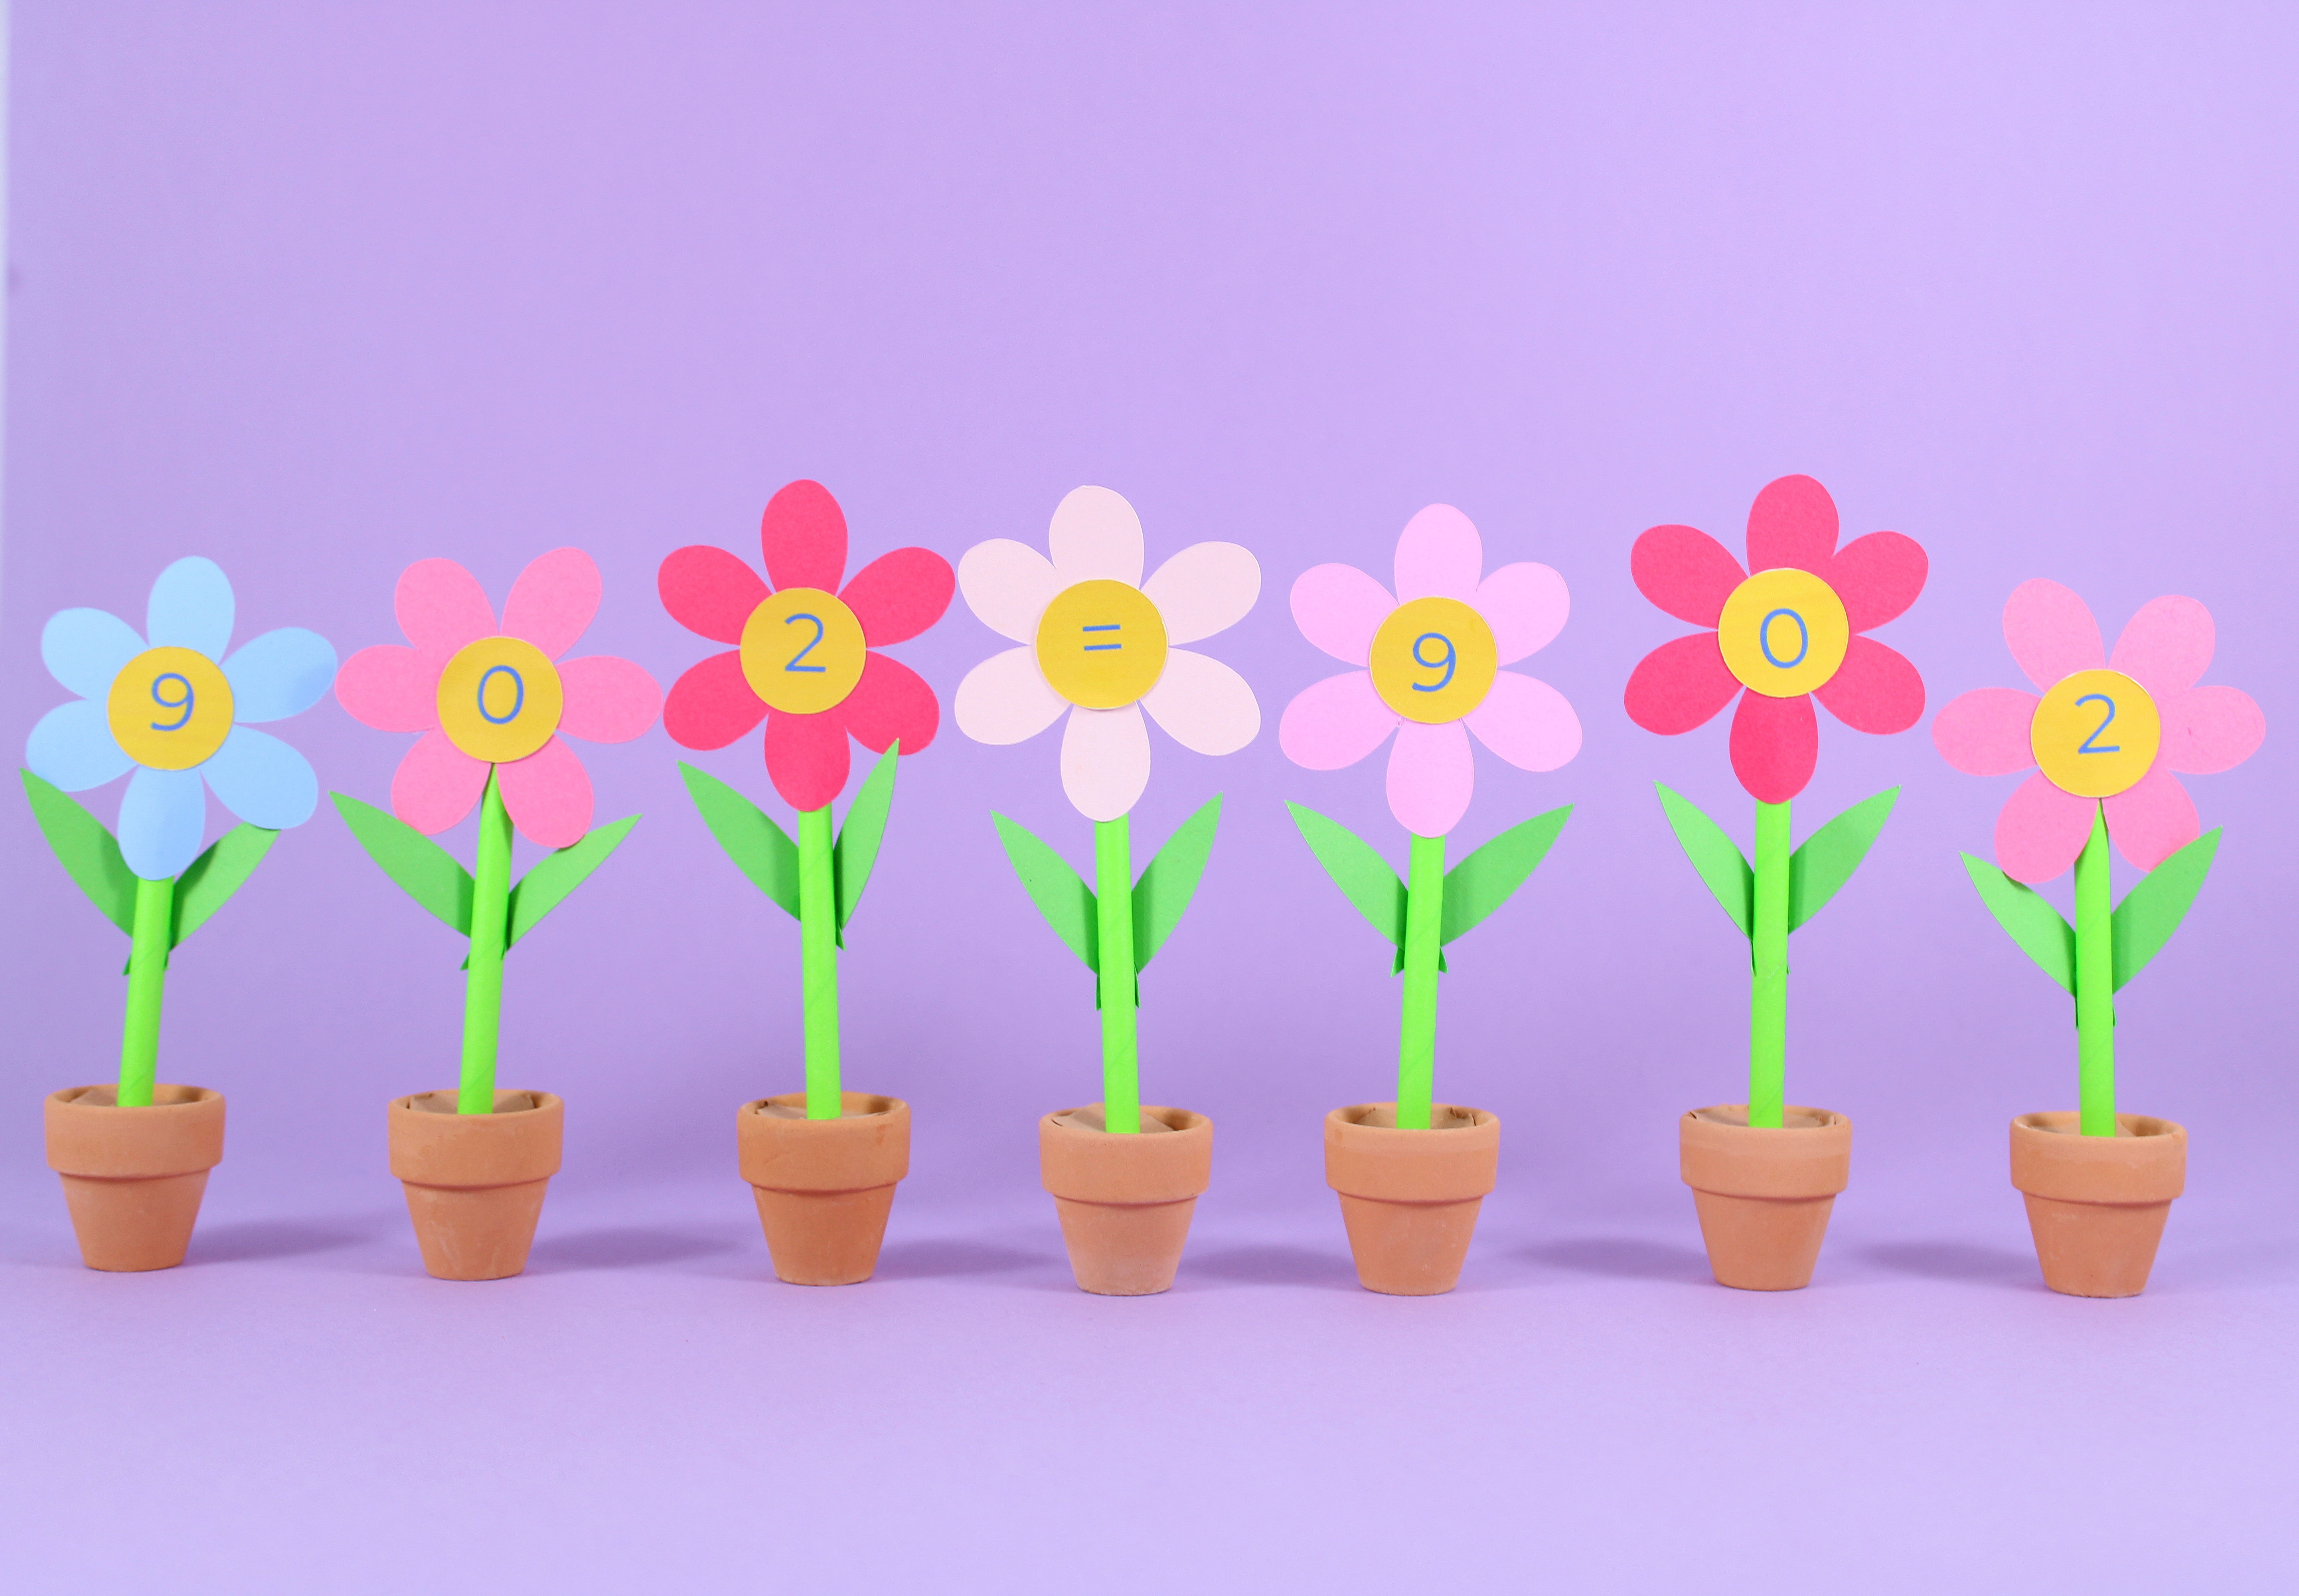
Repeat this process as many times as desired, asking your child to place the correct symbol in the centre of the flowers. To make the activity more difficult, add in extra digits to make 4 and 5 digit numbers. Have fun!
To find more games, projects and activities, search the website using the search bar or look for specific categories, skills or themes in the menu. There are lots of free projects to choose from with some files available to buy via the Designed 2 Play Etsy shop, so go have a peek and see if there is anything you fancy creating. Happy browsing!

